![]()
| |
|||
|
|
|||
|
|||
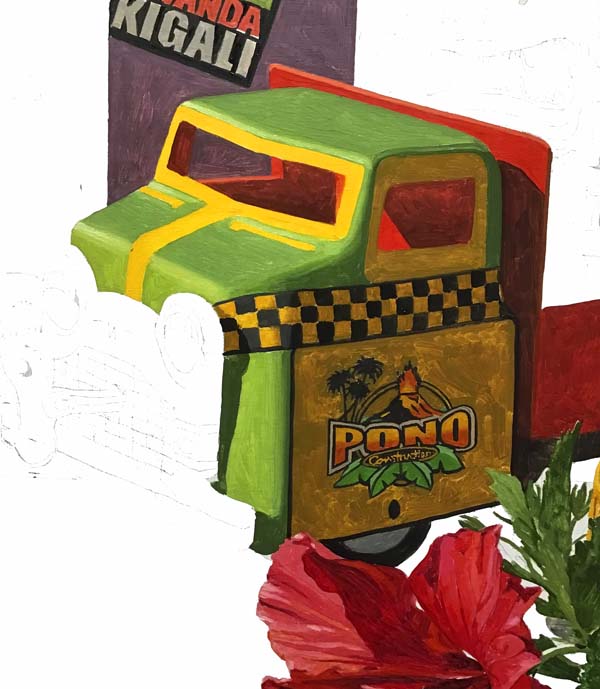
I've finished 'blocking in' the truck and the two cocktail glasses, along with the cast shadow of the windup key, the truck and the flower. |
|||
|
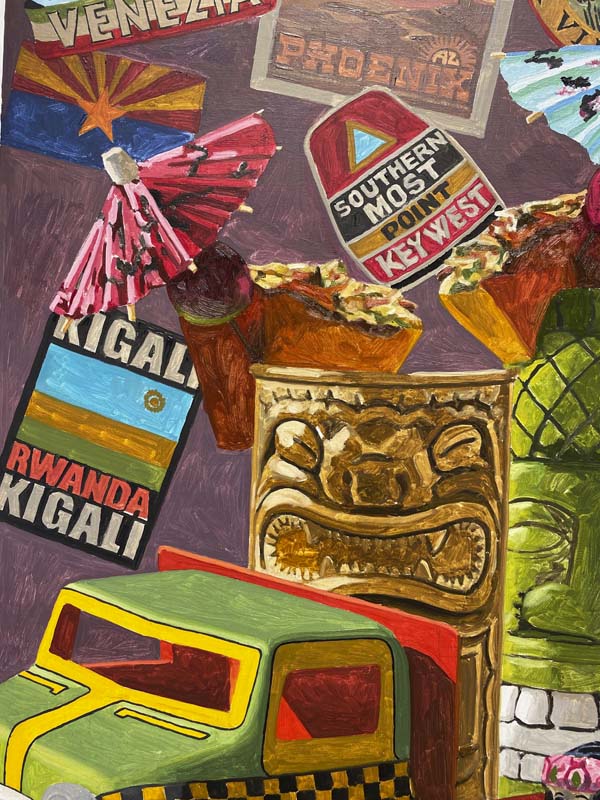
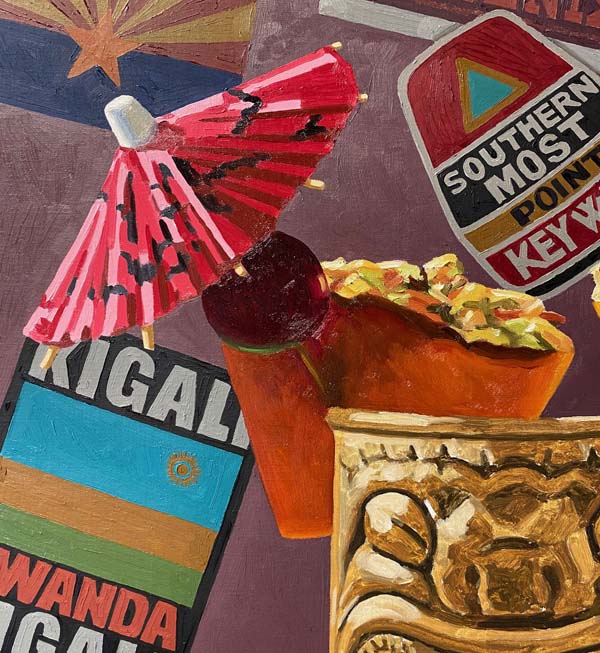
Here's a closer look at the tiki mug, the red umbrella
and pineapple slice on the left.
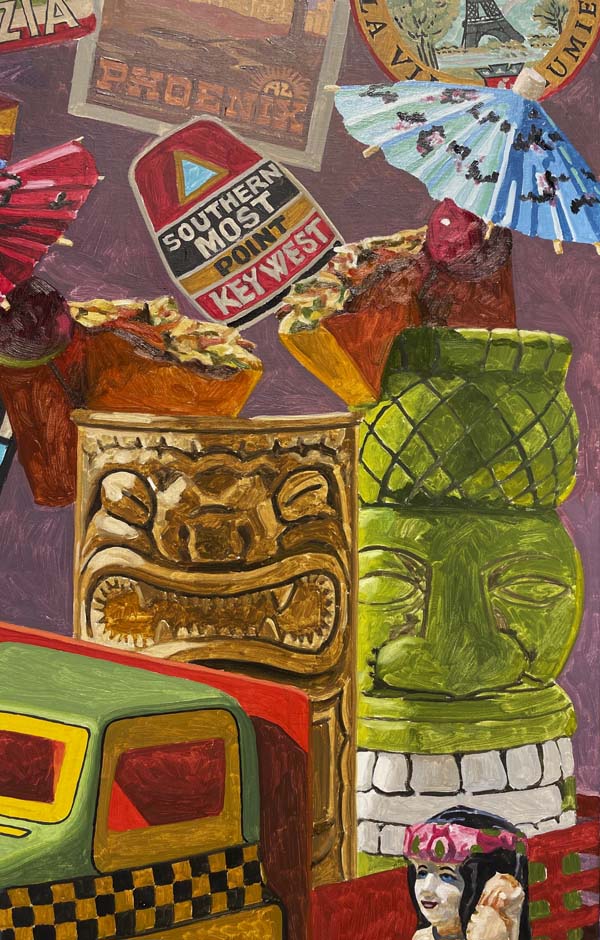
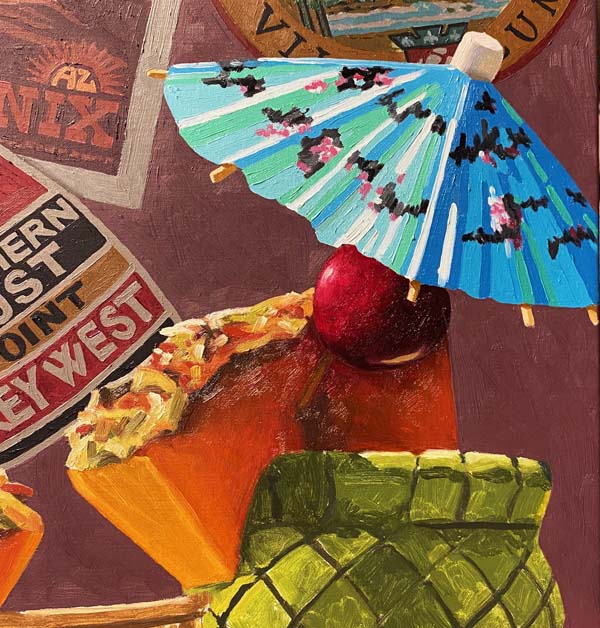
This photo shows the tiki mug on the right, topped with the
blue umbrella and pineapple slice.

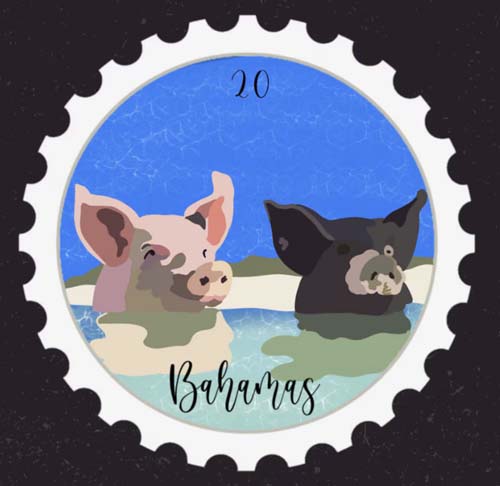
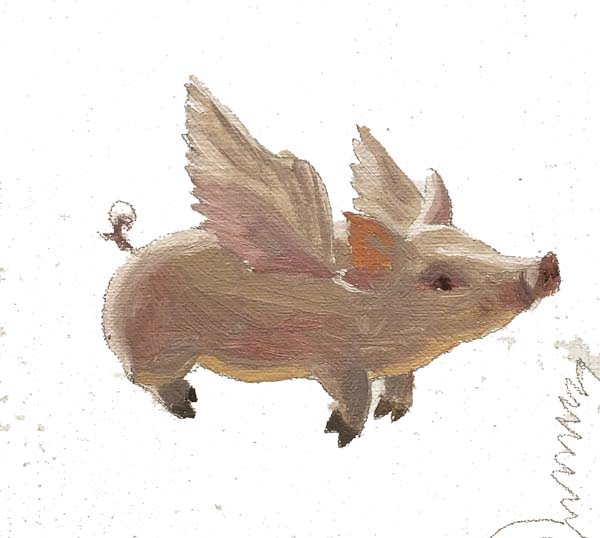
I loosely laid in the colors for the Bahamas "Swimming Pigs" logo.

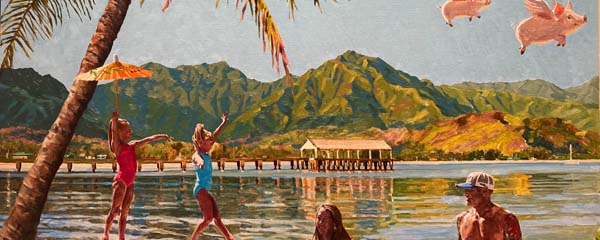
I painted as much of the sky as I could, not knowing exactly
where the girls' arms and umbrella would be.

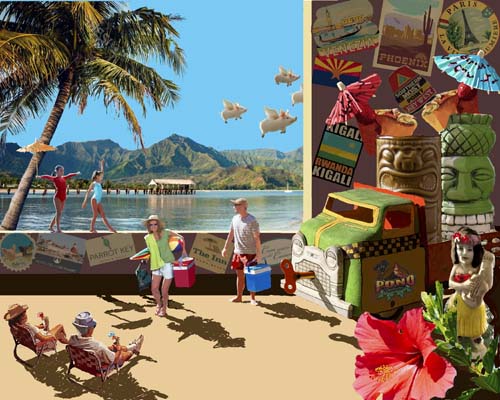
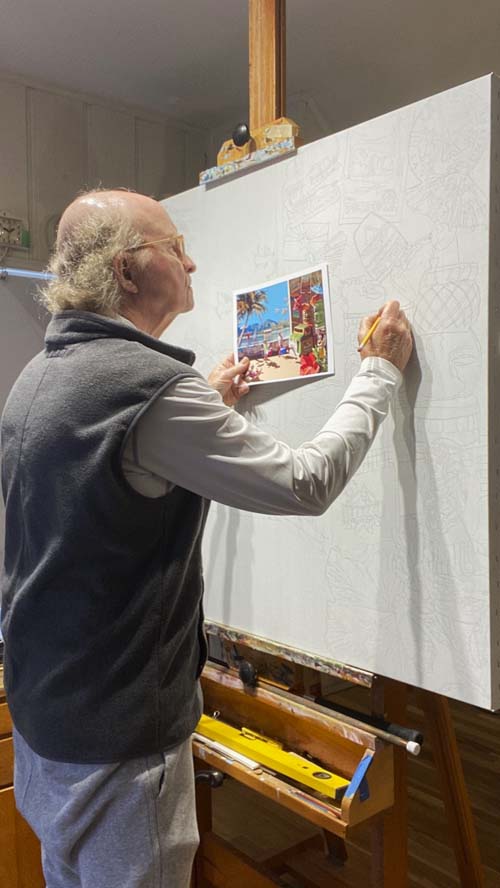
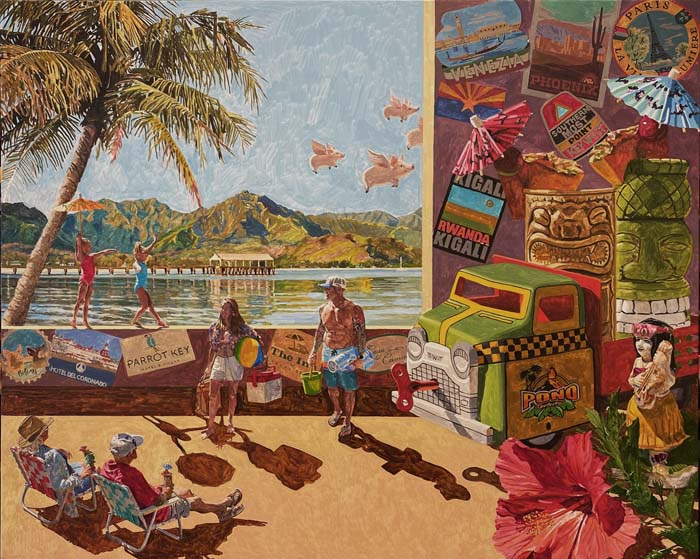
Here is an oveall look at the entire 40" x 50" canvas.
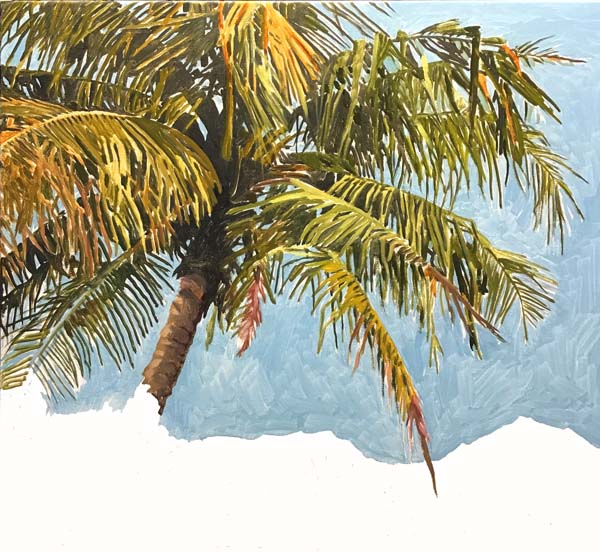
I've put the preliminary washes on the palm tree. Lots of
varying shades of green, mixed with thalo green, cadmium
yellow, burnt sienna and burnt umber. A little black and
French ultramarine blue in the dark areas.
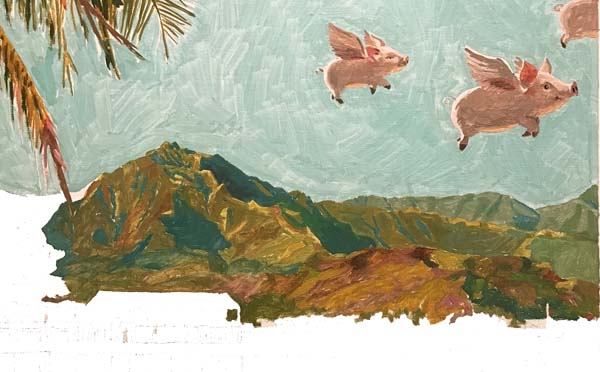
I've also begun the underpainting of the background mountains.
There are many hues scattered on the hillsides and mountains of
Kauai. I'll try to give a glimpse of their amazing colors without
distracting from the main focal points in the foreground.
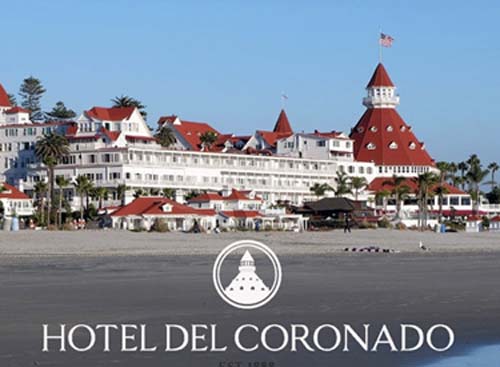
There are only a few areas that I can still put the first layer
of paint, as I need the six figures sketched in their places for me
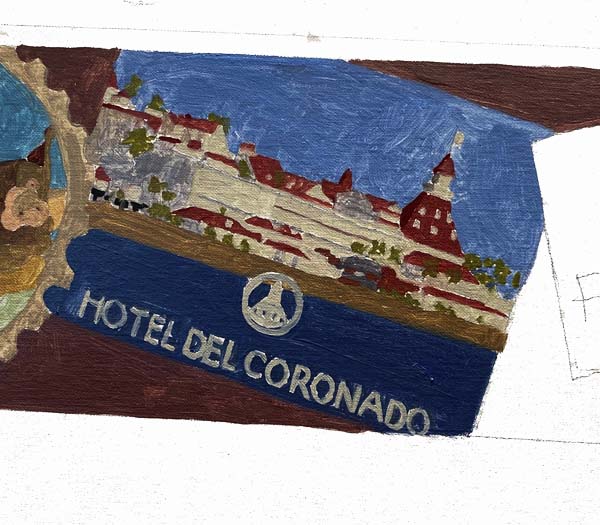
to finish the areas around them. This "Hotel del Coronado"
postcard is one of those remaining objects. I've only roughed
it in, leaving out details like the windows on the building.
I'll render those details when I apply the final layer of oil paint.
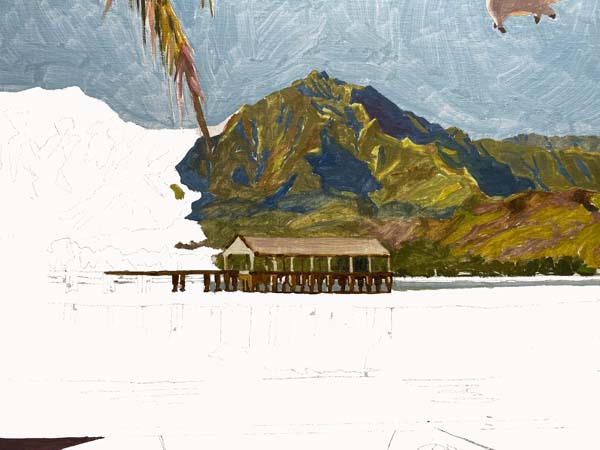
I've painted in a part of the Hanelei pier and...
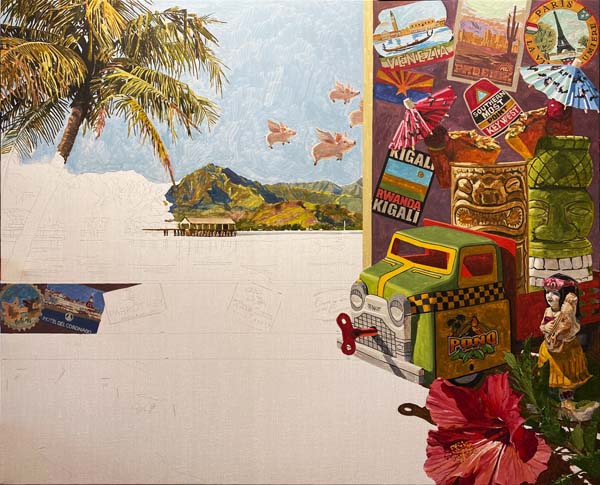
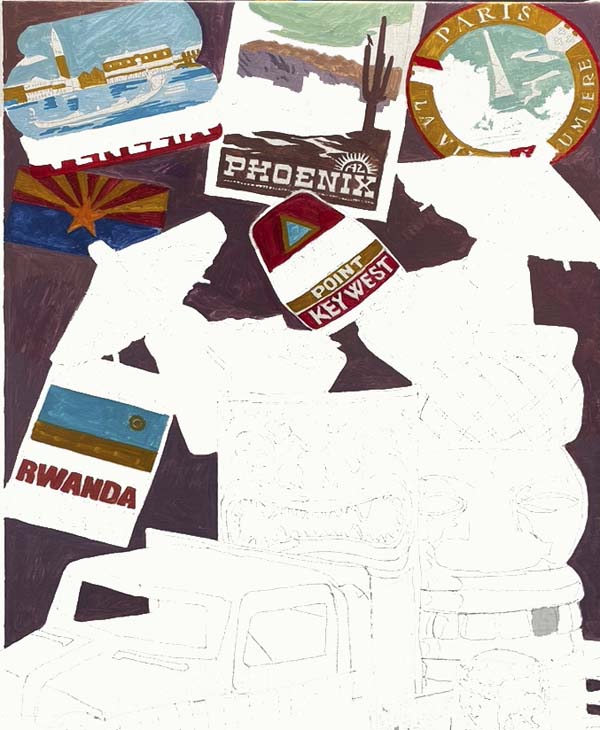
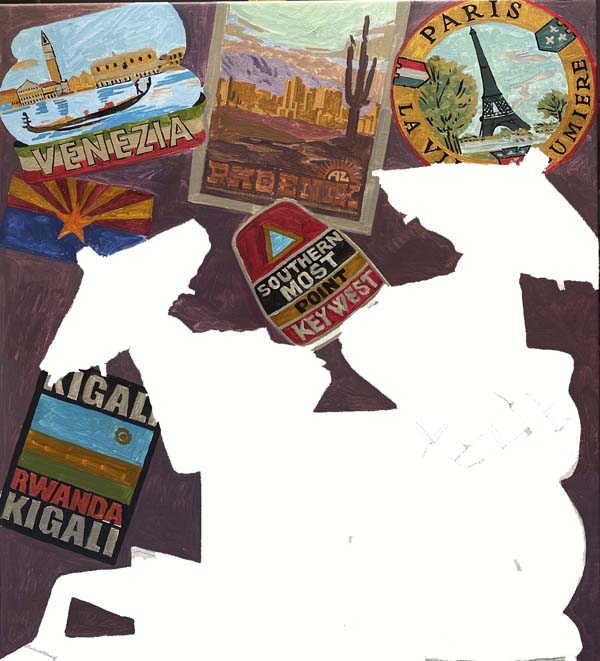
Here is a shot of the whole canvas.
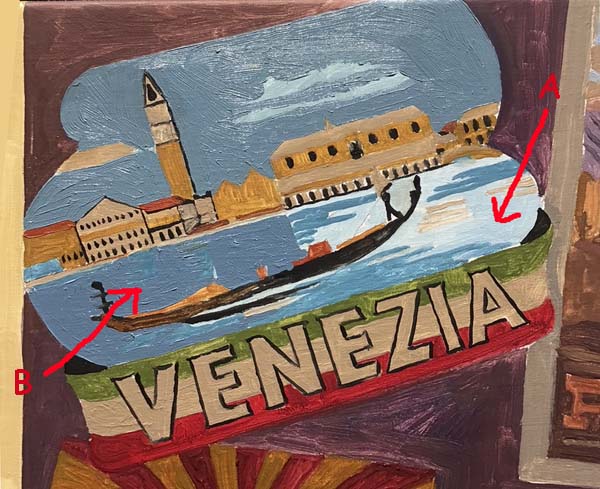
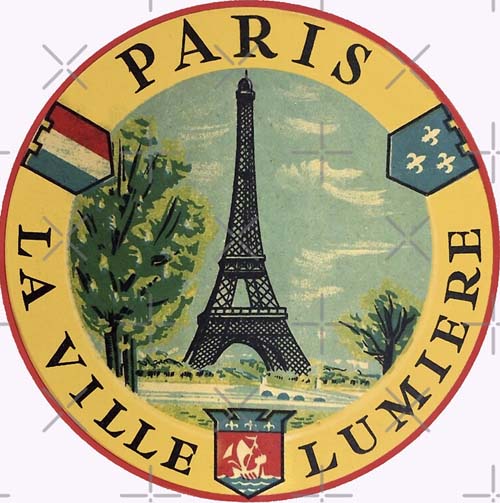
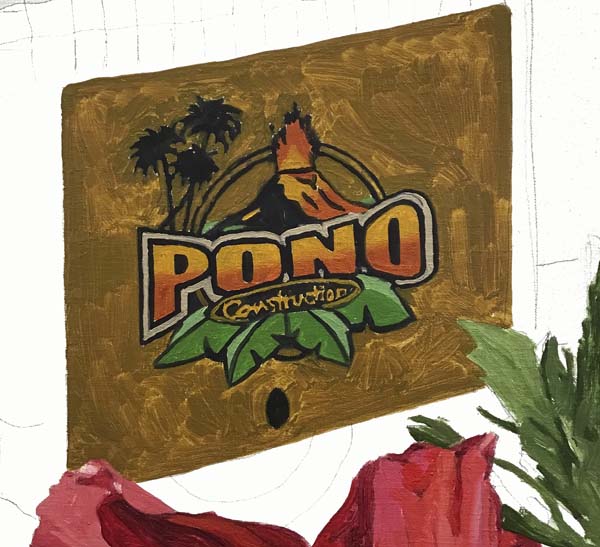
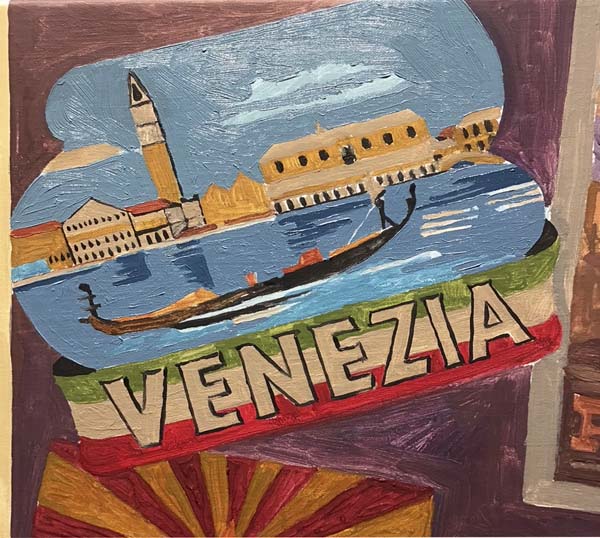
I'm applying the final layer of paint on this vintage decal. It
needs to get considerably darker so as to appear that it is in
the shaded part of the painting. Red arrow 'A' shows the first
layer of paint and red arrow 'B' shows the final thick layer
that I am now applying.
As I continue to add darker values to the decal, other areas
that only have one thin layer of paint start becoming very light
in comparison. I'll continue to mix darker values of each hue
until they are all covered.
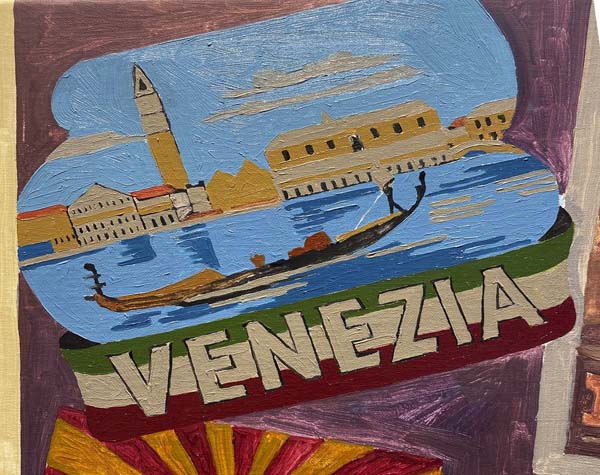
Here is the decal with everything darkened. When this dries,
I'll add the fine black details.
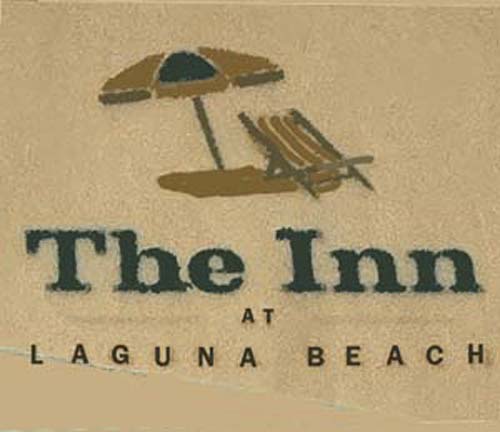
A nice surpise today. My clients, Butch and Helen Glispie, were
vacationing here in Laguna this weekend and they had time to
drop by the studio, see their painting in progress, and have
their photos taken for the painting.
Here is Helen wearing a ball cap. Her 'beach hat' is in Phoenix,
but because she had sent me a photo of her in her 'beach hat,' I
was able to...
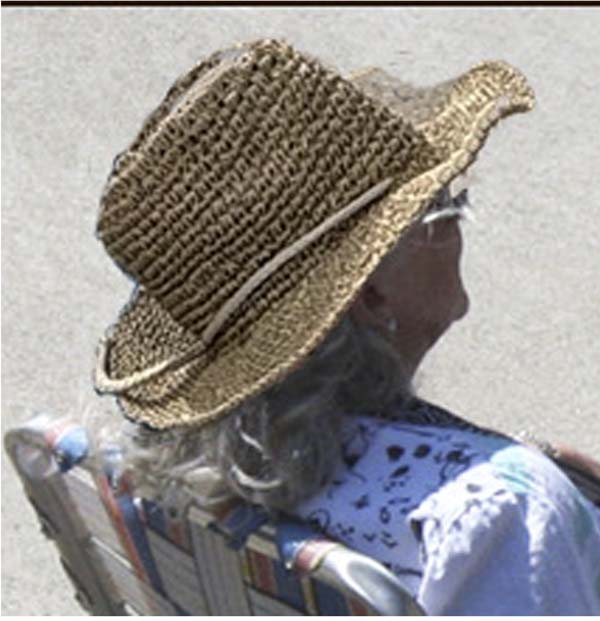
Photoshop it into the photograph I took. Technology working
wonders!
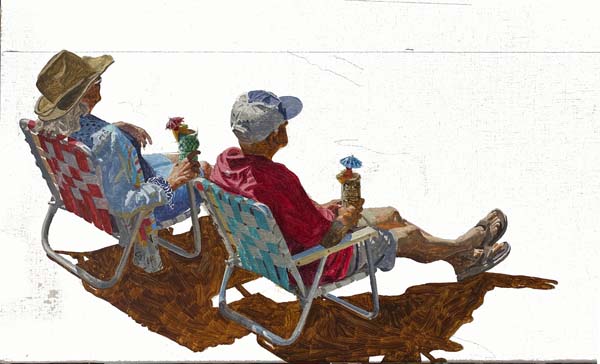
After a few days of close study, I've put Helen and Butch on
the canvas with their first layer of paint. As I've stated many
times, the second and final layer will define them, adjust all
their hues and values and add a little more detail.
The Glispie 'ladies' went on a vacation to the Del Coronado in
San Diego, so we set up a photo shoot while they were here. I
had just photographed Butch and Helen, so I had four family
members left to go. Butch and Helen's daughter, Amber, and her
two daughters were nice enough to give up a bit of their
vacation time to pose for the painting.
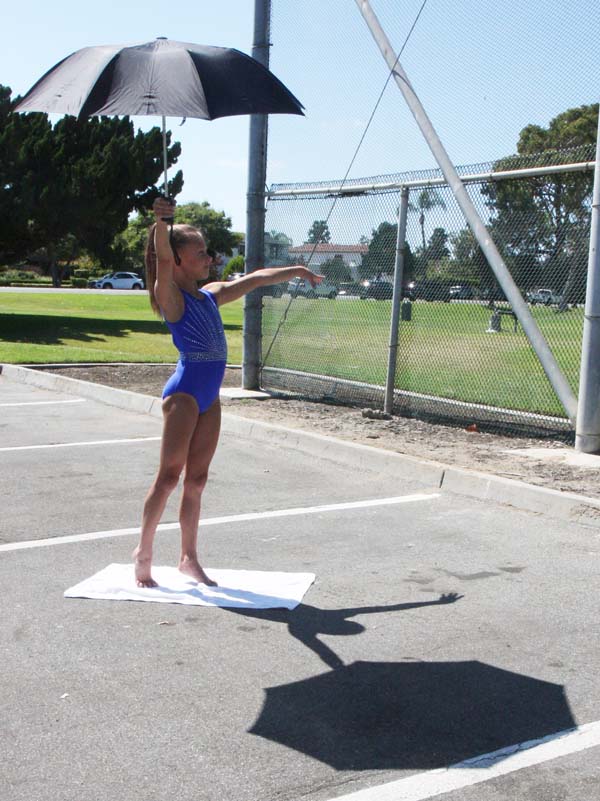
Sawyer, the oldest of the two girls posed with the umbrella and...
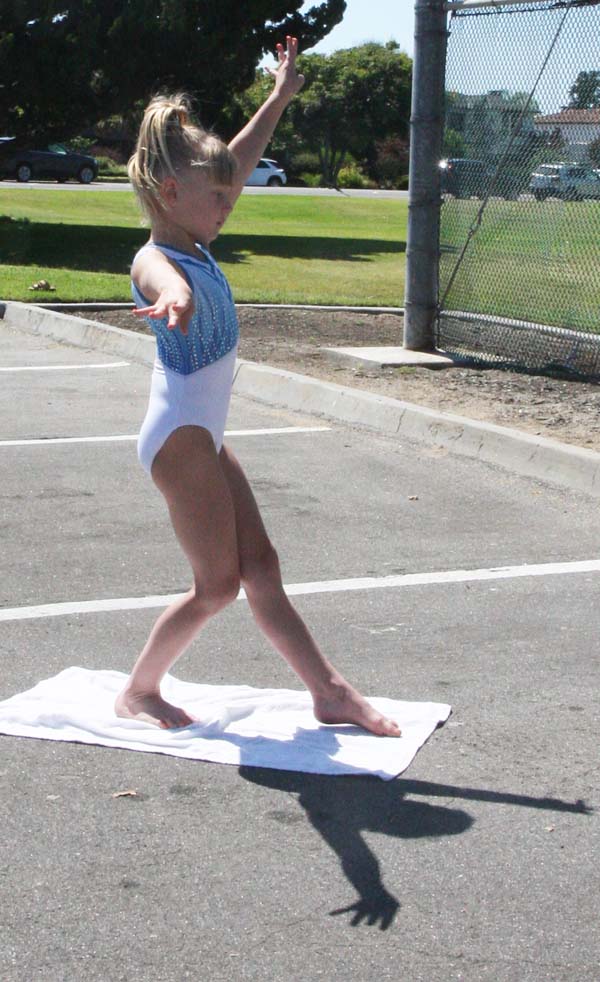
...Austen, posed in great form, leaving just Amber's husband,
Troy, to complete the six.
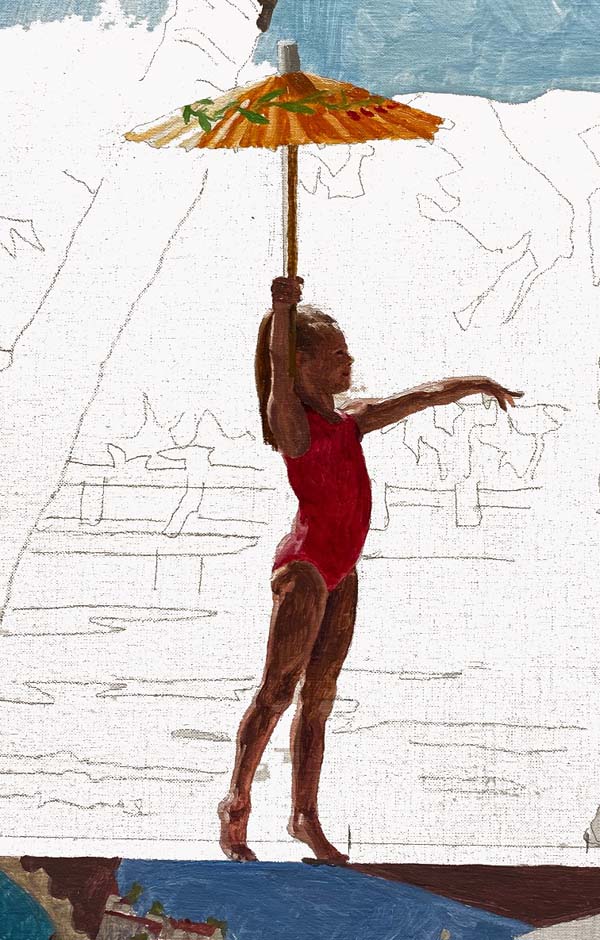
I'm starting with Sawyer. Their poses are so delicate, with
their tiny fingers helping to balance.
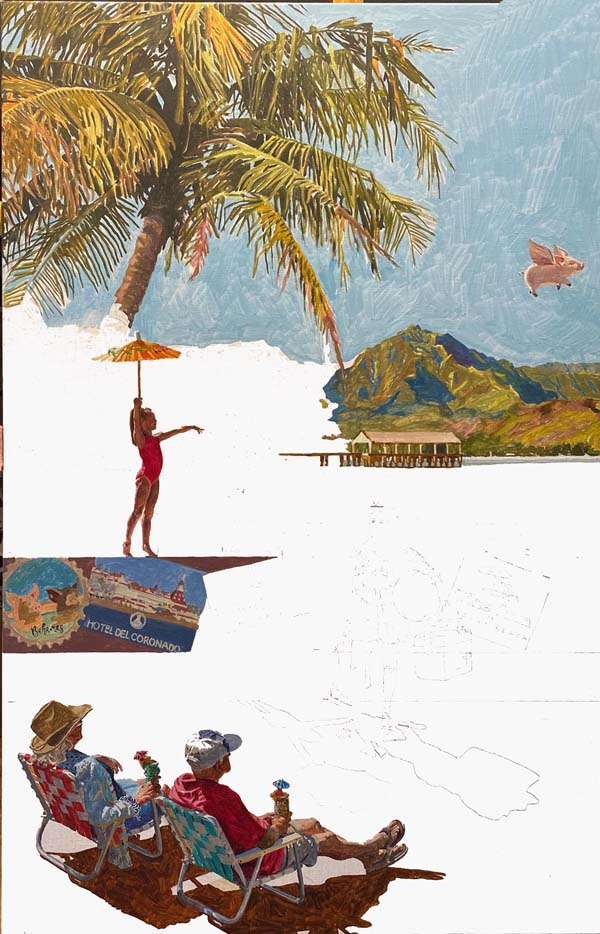
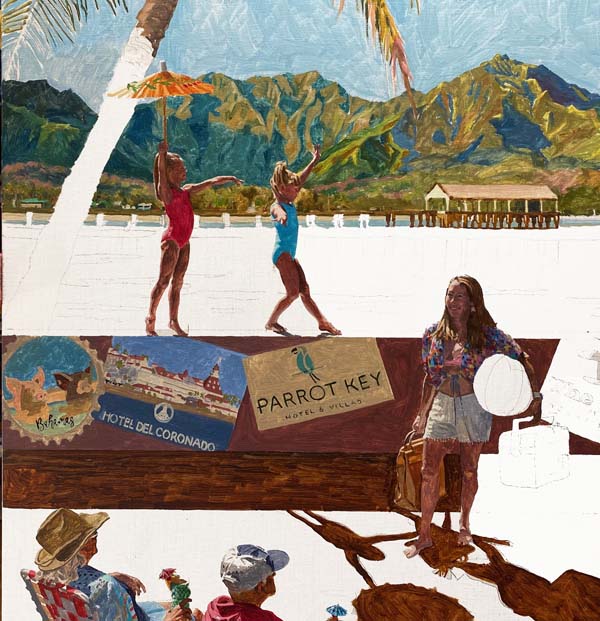
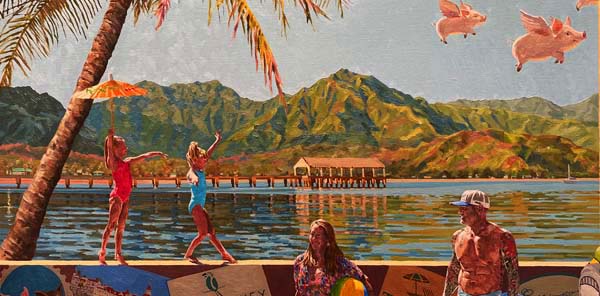
Here's a snapshot of the left side of the canvas, showing the
addition of Sawyer to the painting.
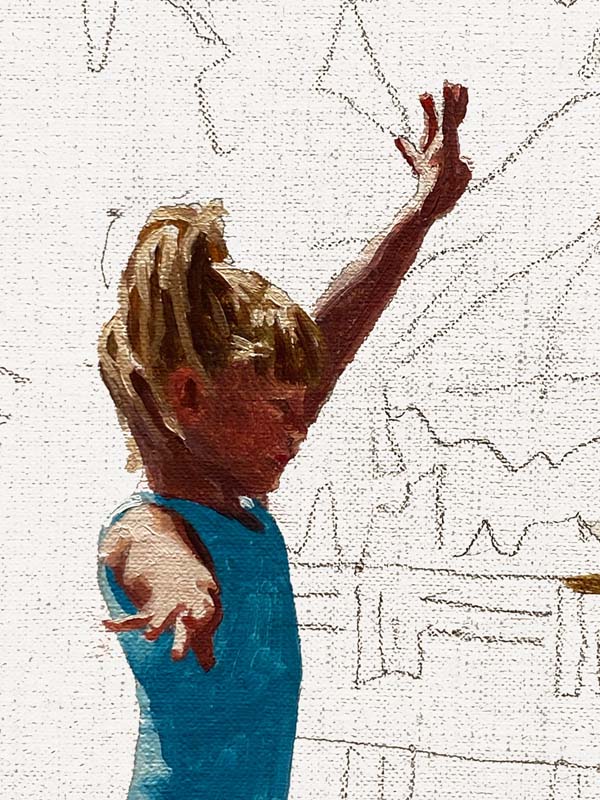
Here's a close-up of Austen, balancing on the wall.
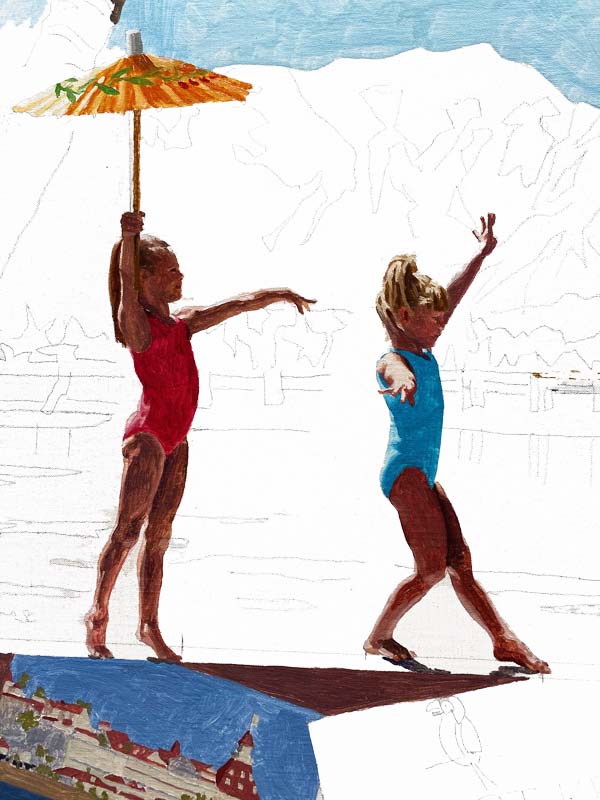
Both sisters are now 'roughed in' with their first layer of oil.
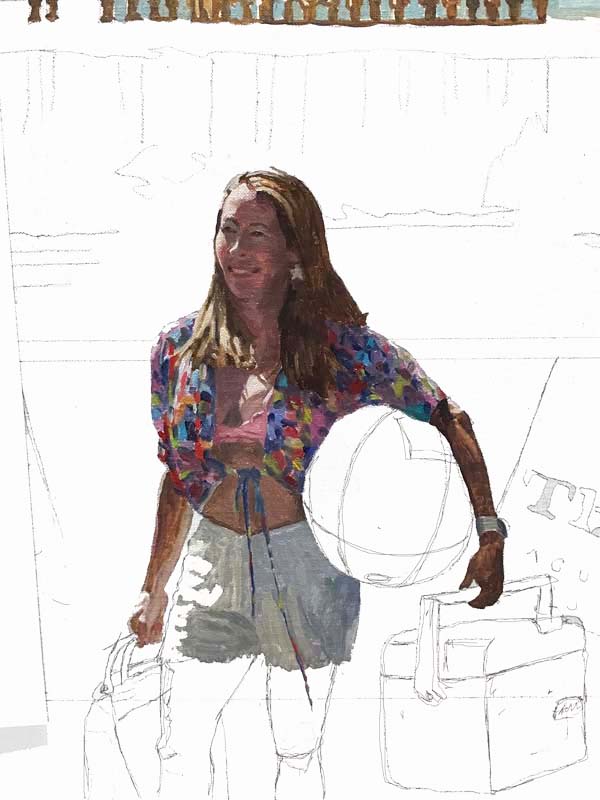
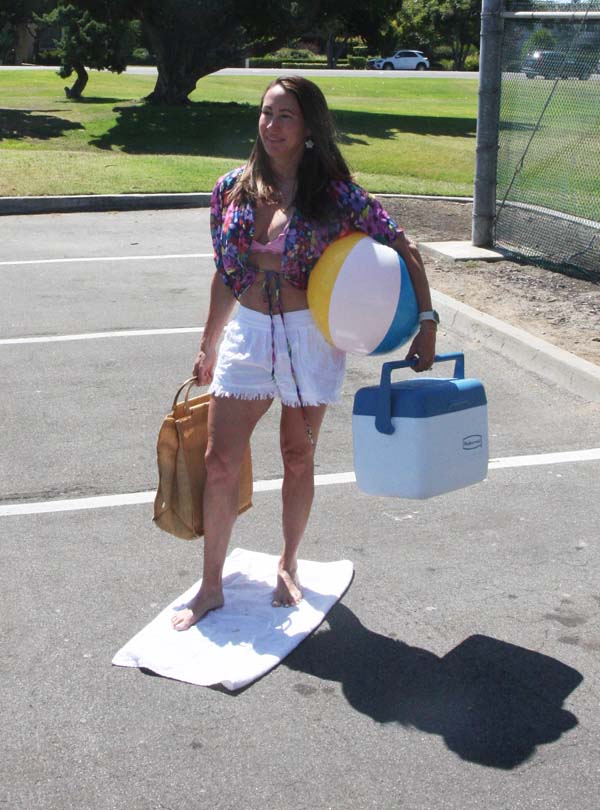
Here is Amber. I'm basically going from top to bottom in
roughing in her and all her beach gear.
I finished roughing Amber on the canvas, but I've left the beach
ball under her arm and the ice chest unpainted. I need to wait
for her husband, troy's photo, helping me determine what colors
I need to balance out the image.
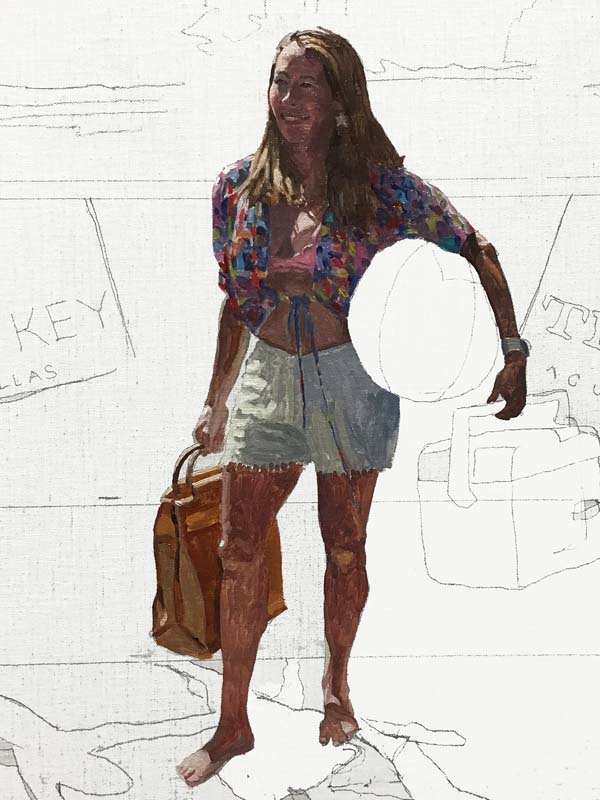
Here is another look at the left side of the canvas. I've put in
part of the cast shadows, having to wait until I have Troy's
photo to finish them.
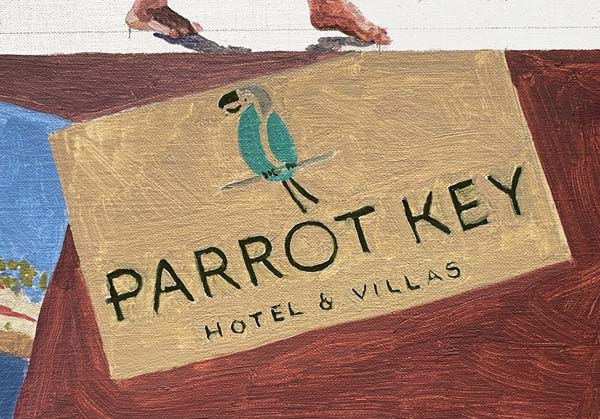
With Amber in place, I can paint the "Parrot Key" room key and
also the wall to the left.
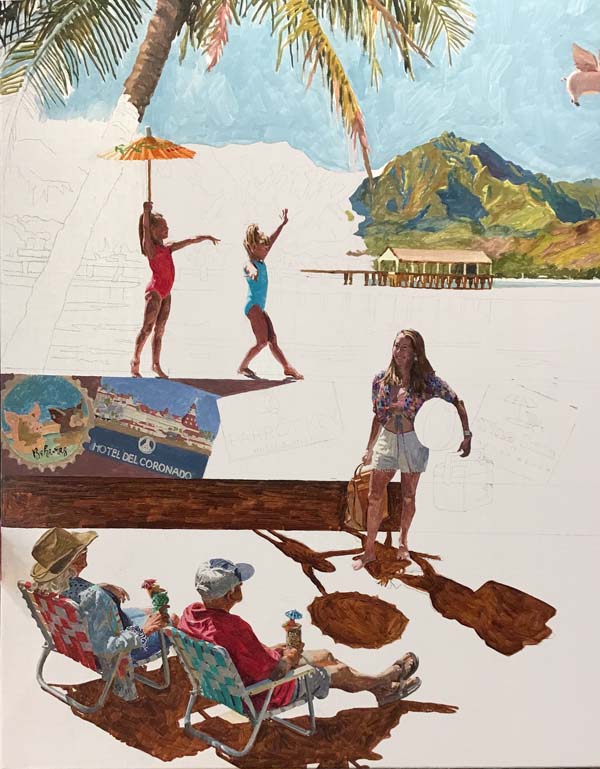
Having the girls in place, I am able to paint the mountains
across the bay.
This photo shows the entire canvas. It shows how one object
can affect the painting of the entire image. As soon as I can get
a good photo of Troy, I'll be able to finish the water in Hanalei
Bay, the wall that the girls are balancing on and the coloration
of the ground on which the four family members are sitting or
standing.
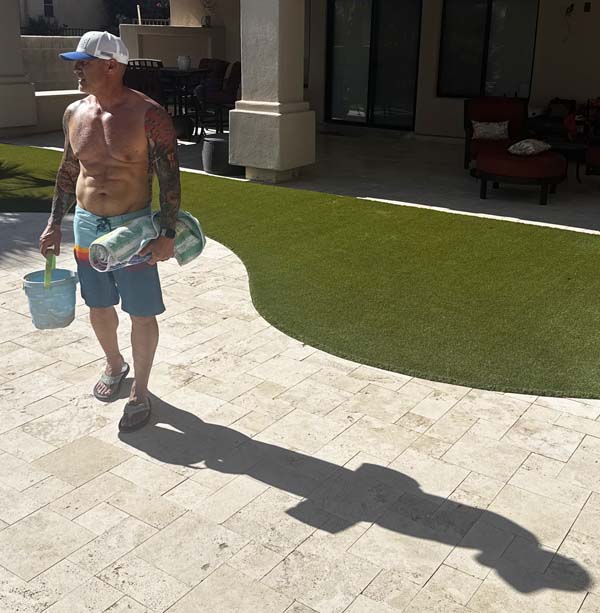
Amber took this great photo of her husband, Troy, from their
home and sent it to me in a text.
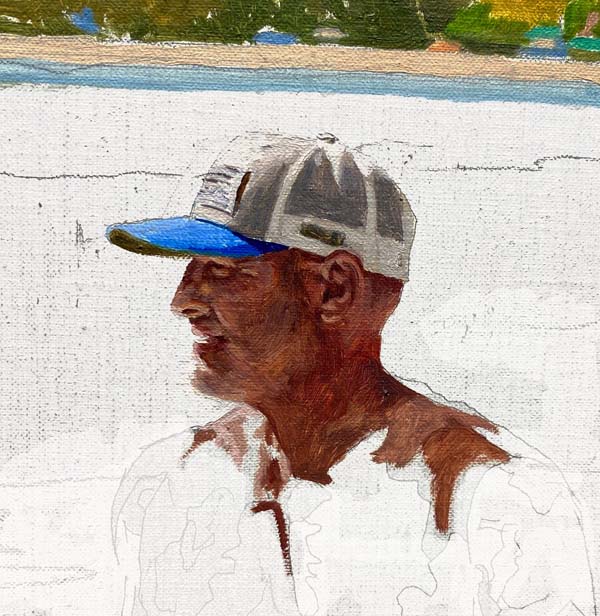
I'm beginning to paint Troy, starting at his head.
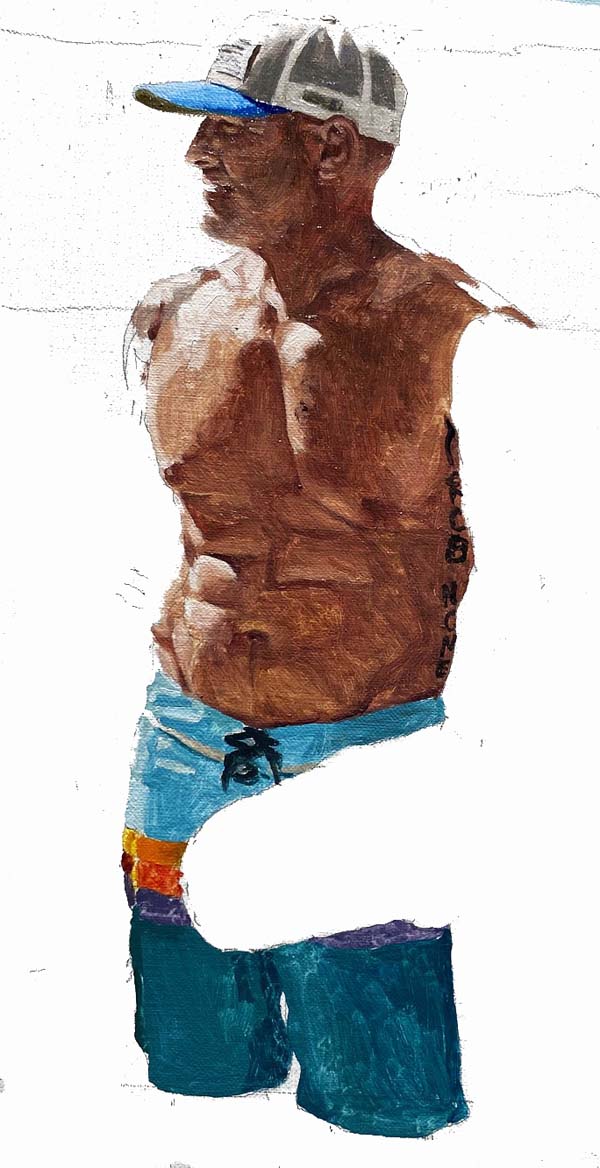
It's been 53 years since my last anatomy class, so defining
Troy's muscular torso is taking all the skills that have
been on the back burner. Troy also has a number of tatoos,
including his arms and as you can see one along the side
of his back. I've never rendered tatoos before, so this is
a first and I'm looking forward to working on his arms
tomorrow.
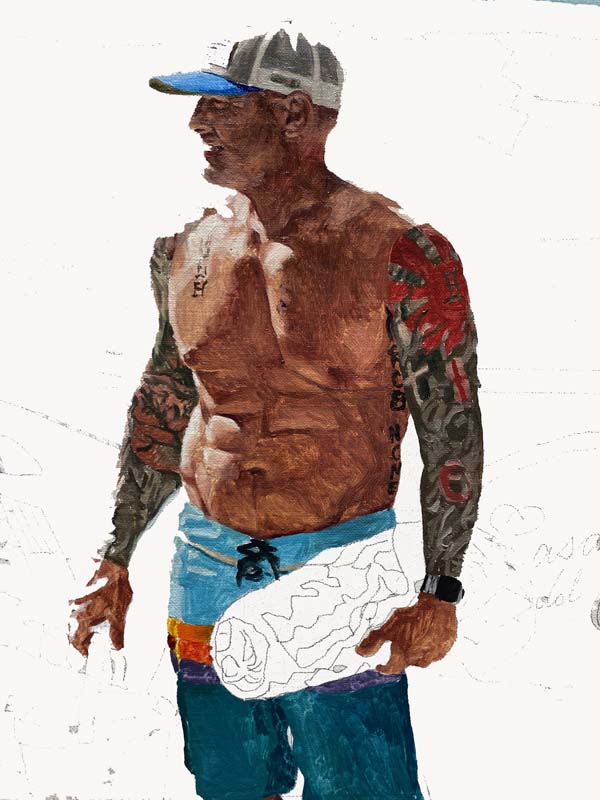
Troy's tattoos are very involved and were a challenge to
replicate. I think they came out great!
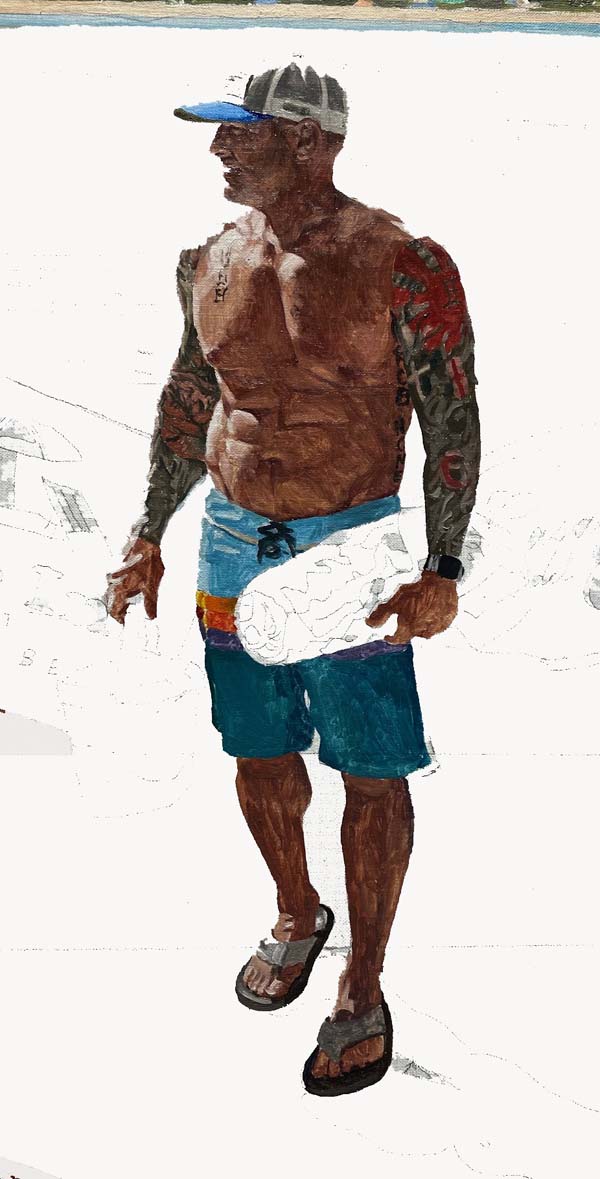
Here's a photo from head to toe.
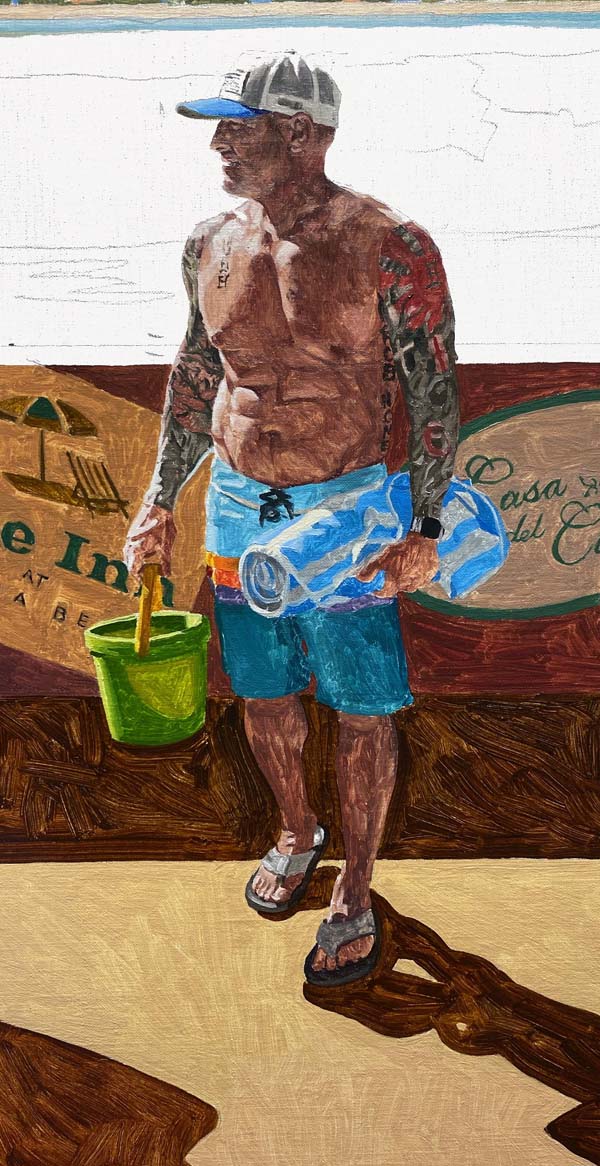
I finished the first layer of oil pigment on Troy, his bucket, his
towel and the wall behind him.
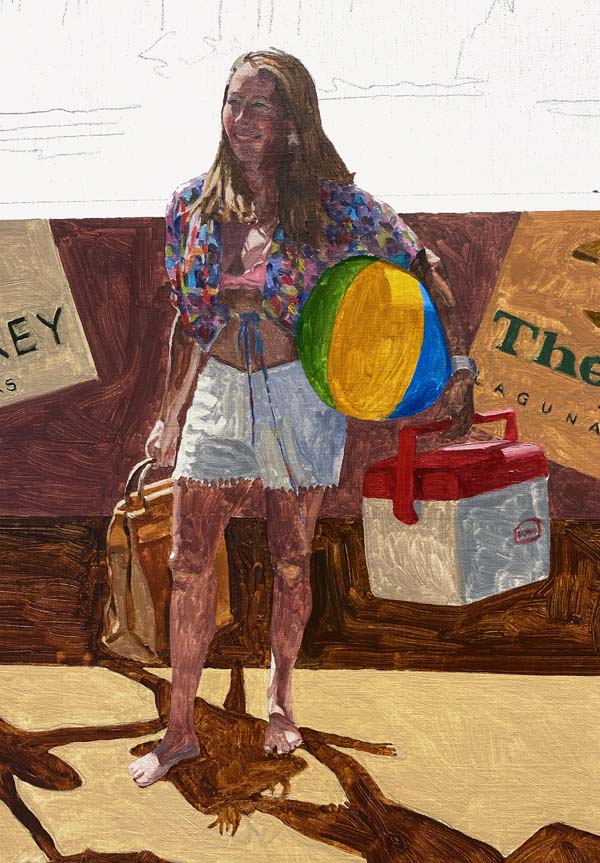
I did the same for Amber, rendering her beach ball and cooler.
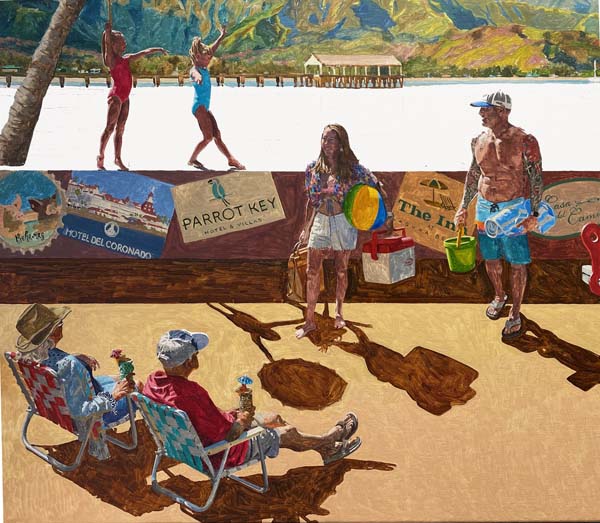
Here's a snapshot of the entire family, with the ground color
completed. The water in the bay will be my next subject, and that
will bring me to the halfway point in the painting.
I've rendered the water in Hanalei Bay with all its reflections.
"Glispie's Family Painting" has now reached its halfway point. Every
square inch of the canvas has been given one thin layer of pigment. Now,
I'll study the overall imagery, making the final decisions as to what areas
and objects will be darkened, and whether or not the hue (color) needs to
be altered. Also, any details that need to be painted with the final layer
of 'tube thick' pigment will be put into place.
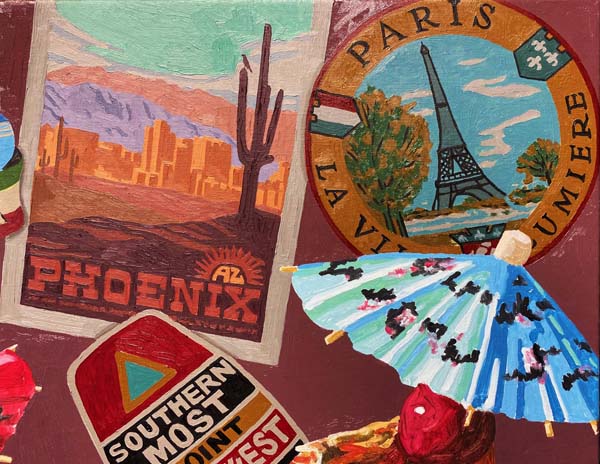
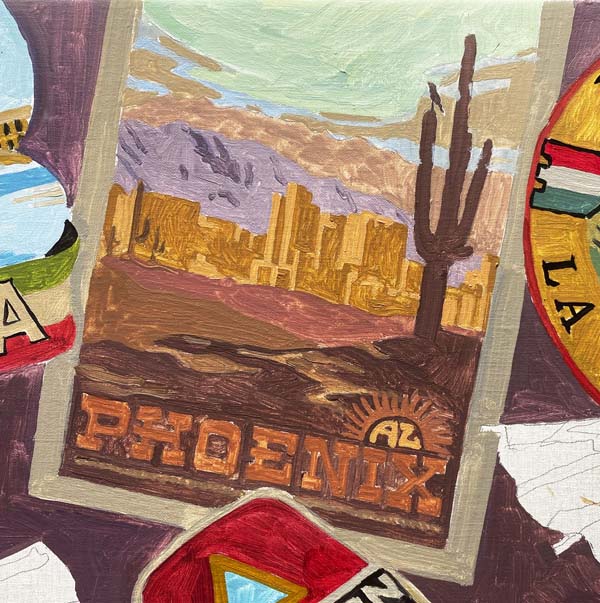
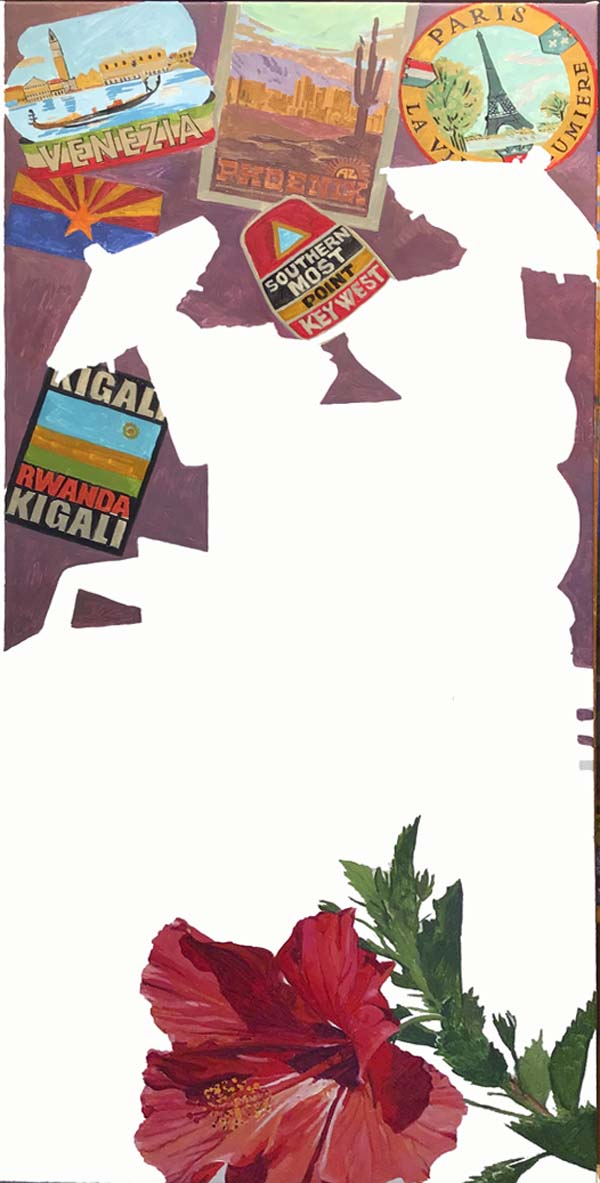
I've finished the final application of paint on all the decals,
room keys etc. that are on the wall. Here's a close-up of a couple
of them.
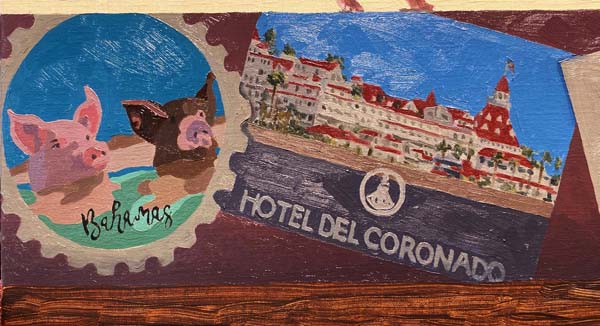
Here's a couple more. Lots of detail in the "Del Coronado Hotel."
The wall is finished and it's value will help me determine what
adjustments to the objects that are in front of the wall will
be needed.
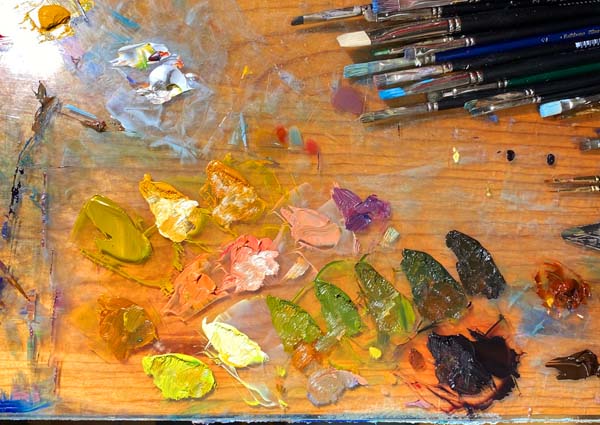
Today, I premixed various shades of green, yellow-orange and
dark greens and browns. These would all be used to render the
myriad of colors on the fronds of the palm tree.
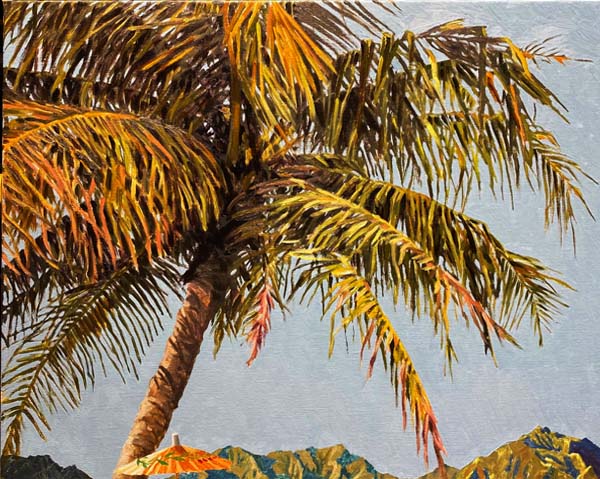
This photo doesn't show the coloration as it looks in real life,
but you can see that the palm tree contains many colors and values.
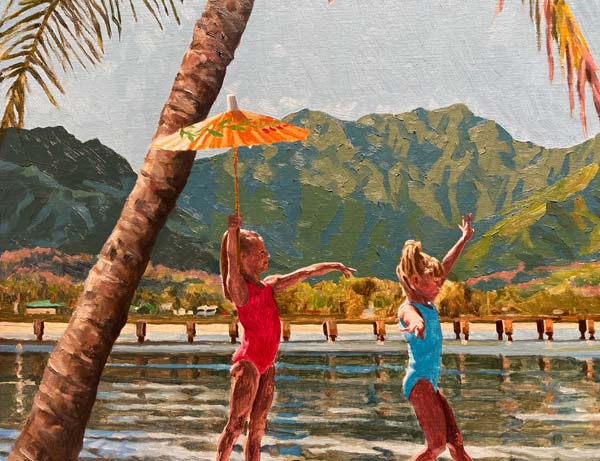
I'm working on the mountains in the window. I've simplified
their values and painted their values closer together so that
they provide a backdrop for the two girls, rather than competing
with them. Now, the light that is shining on the girls, especially
their arms and heads, really shines because of the solid values
of the shapes behind them.
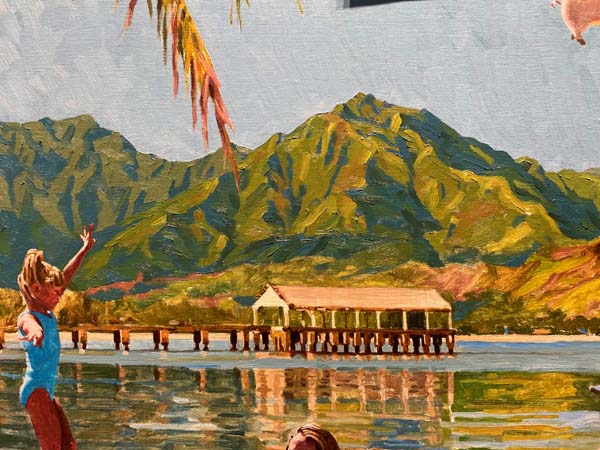
Here is a look at the center mountain with its final layer of paint.
This photo shows the entire width of the mountain range. I'll
continue moving down the canvas on the window image until it
is completed.
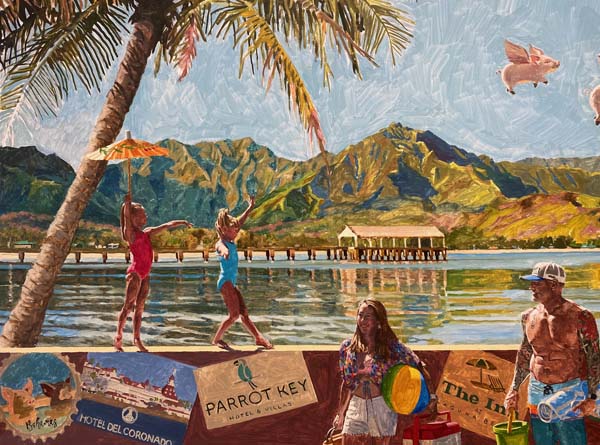
The background out the window is finished. Only the flying pigs
need to be painted their final layer of "pig"ment.
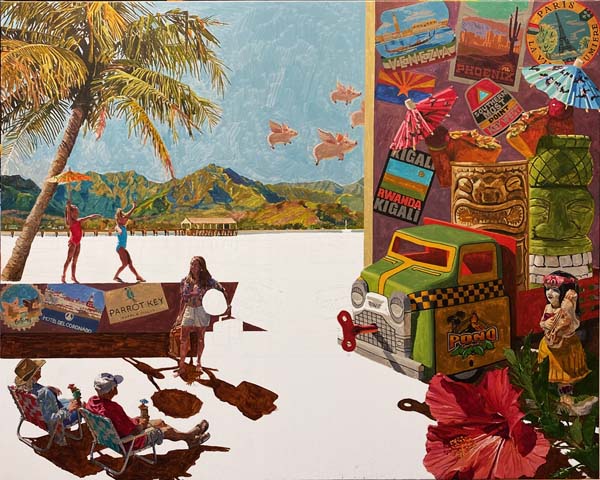
Here's a look at the entire canvas. After the pigs, I'll move on to
the right side of the canvas and put the final layer of paint on
all the objects on that right side. The 6 figures will be done last.
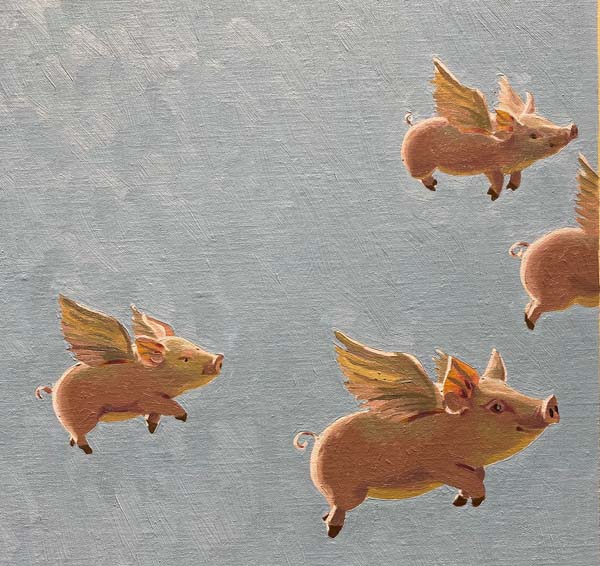
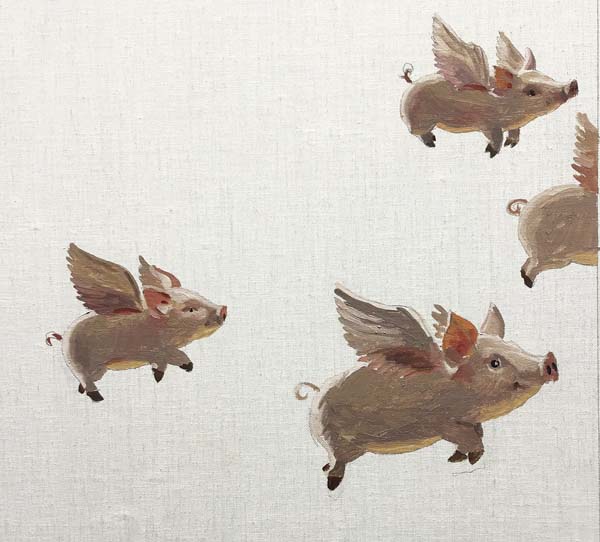
The flock of flying pigs is finished, completing all elements
outside the window.
I just finished the top of the two drinks. That is the umbrellas,
the cherries and the pineapples. You can see how 'rich' the
colors look, now that they have been rendered with heavier
pigment.
Here is the other umbrella and pineapple topping.
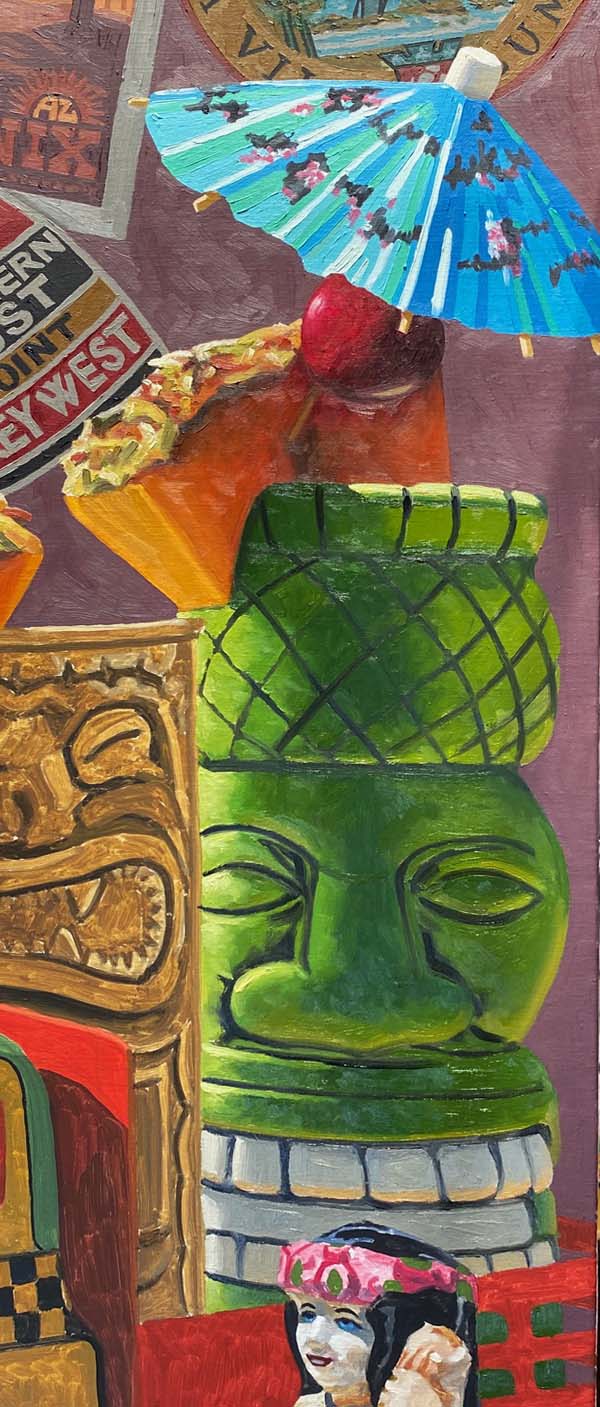
The green tiki mug is now completed. I love the goofy smile on
his 'mug.'
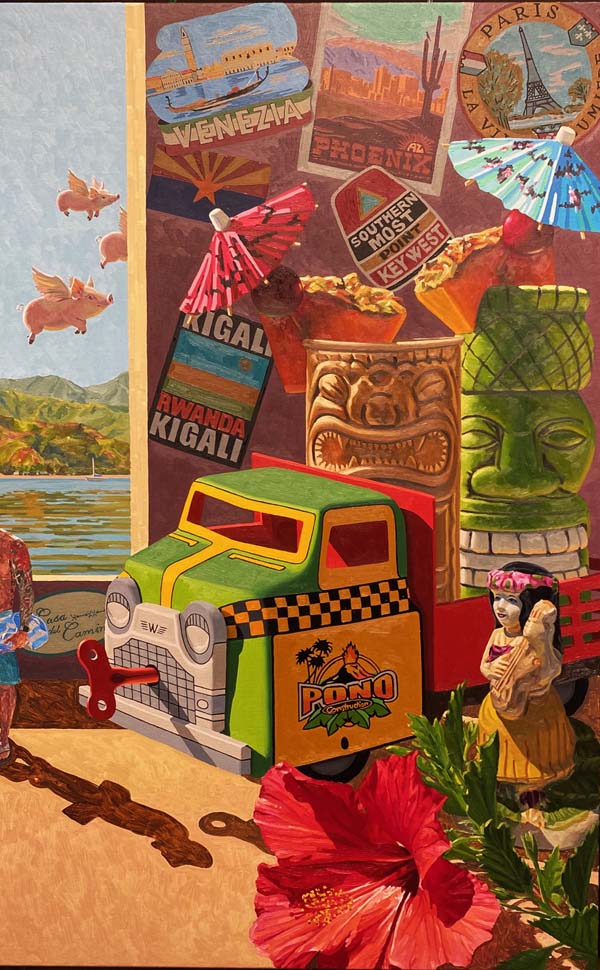
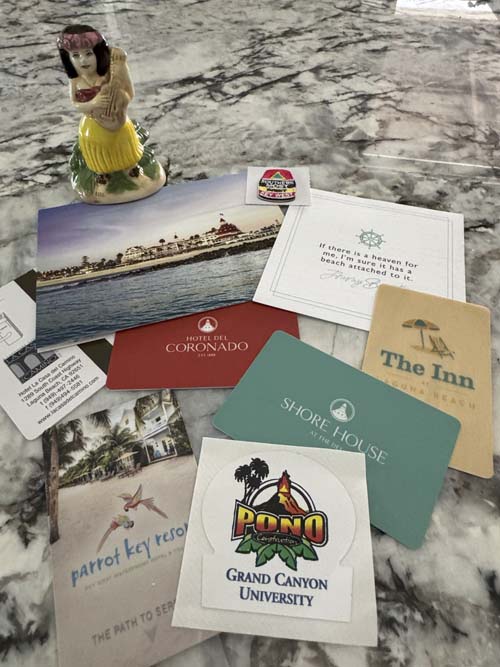
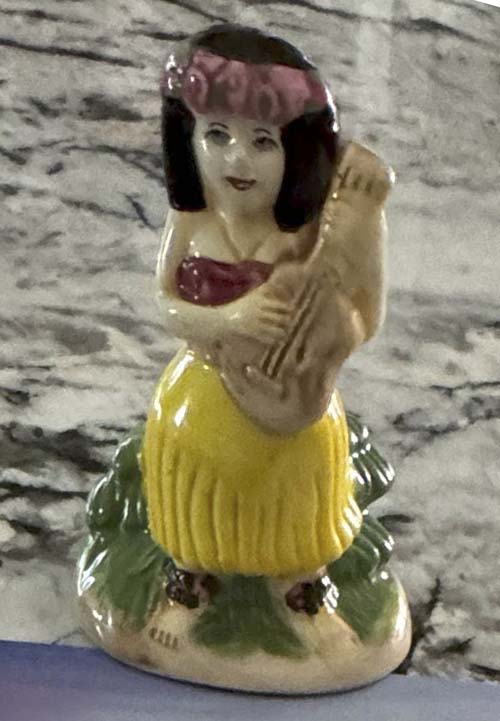
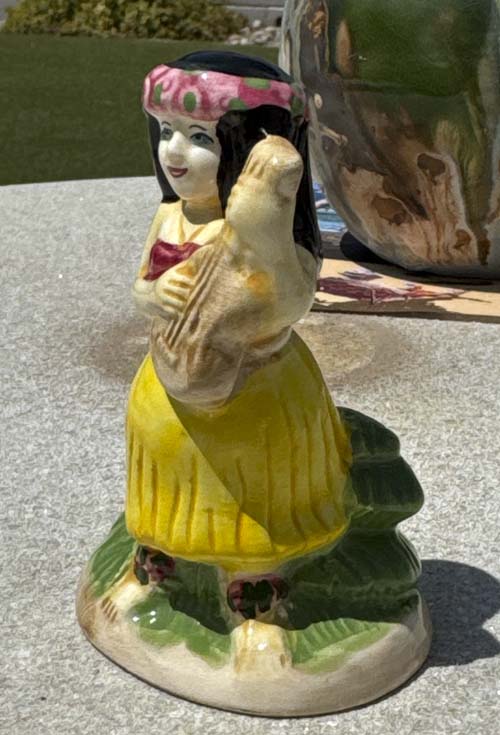
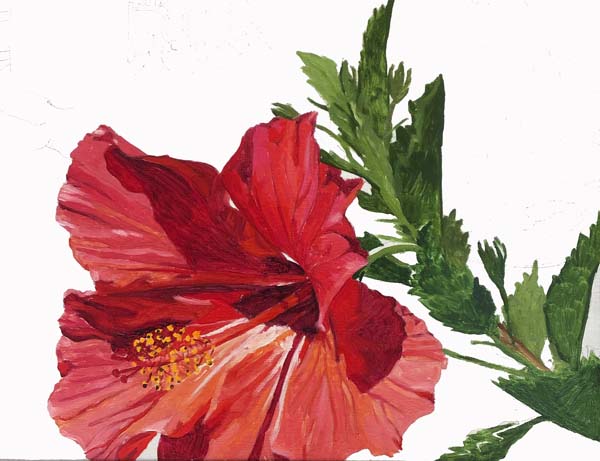
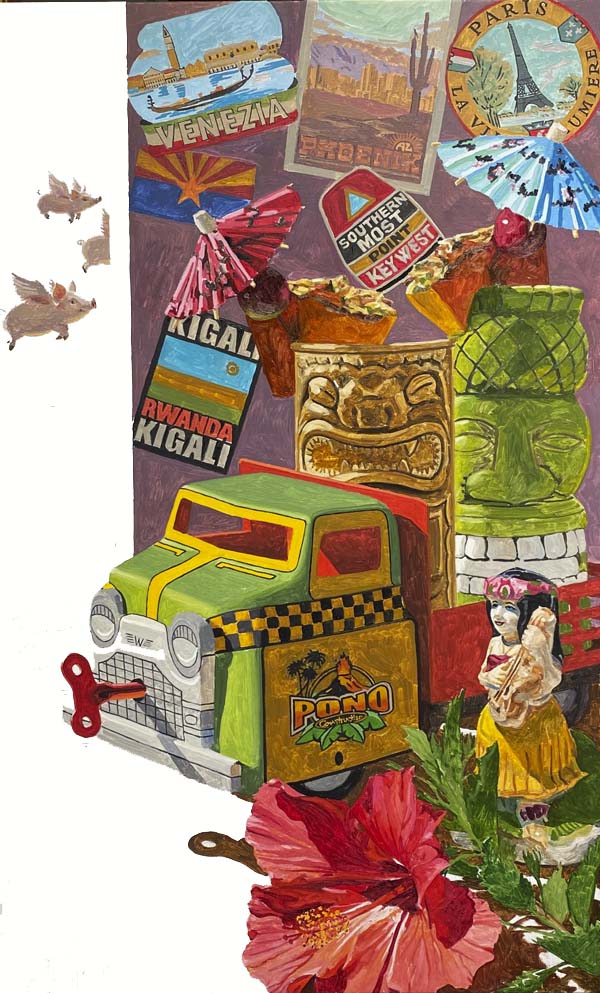
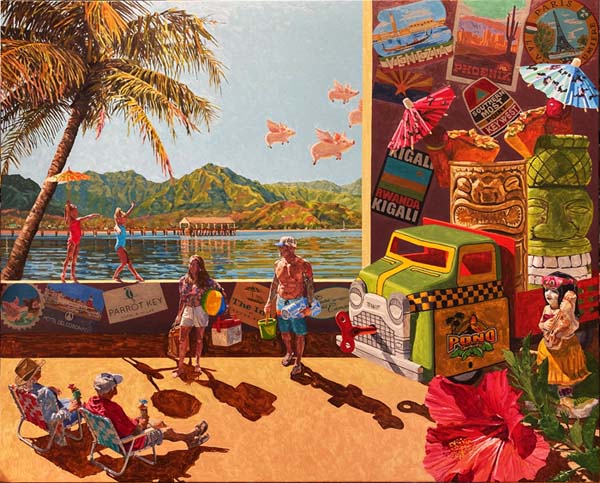
I've completed the entire right side of the canvas. This includes
all the decals/room key cards, tiki mugs, truck, the hawaiian
hula girl souvenir and the hibiscus flower. This painting has
more people in it than I have rendered in any other painting,
(6 figures), and that will be my final push on this image. I'll
work on each one individually, smoothing out their flesh tones
and refining all their detail.
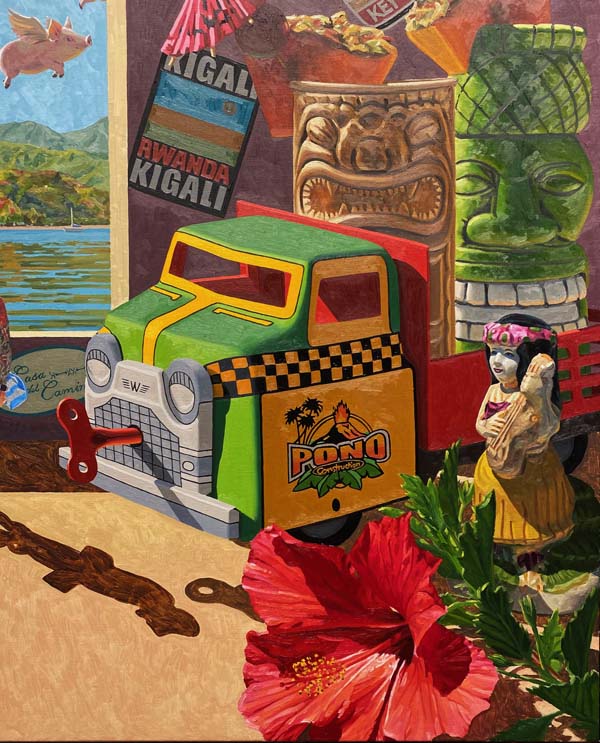
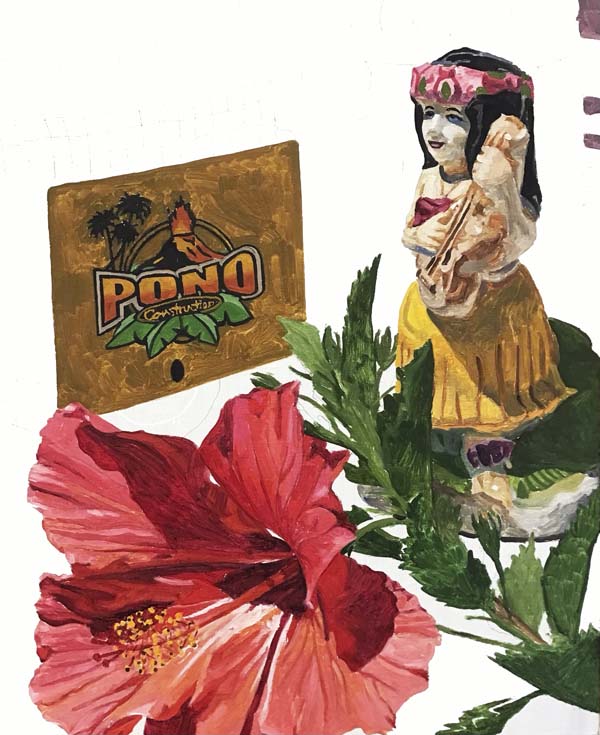
Here's a closer look at the flower, porcelain figure and the truck.
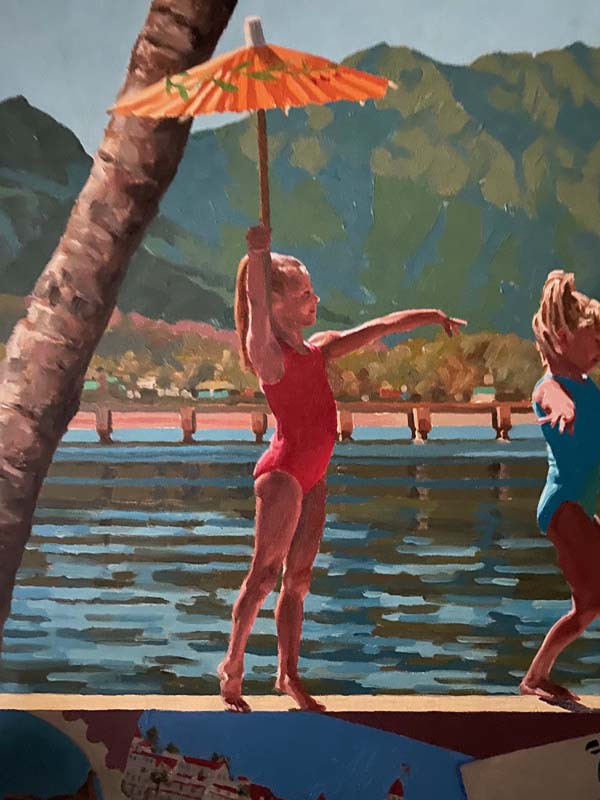
Sawyer is completed. There are very subtle reflective light areas
that reflect the sunlight as it bounces off the ground surface.
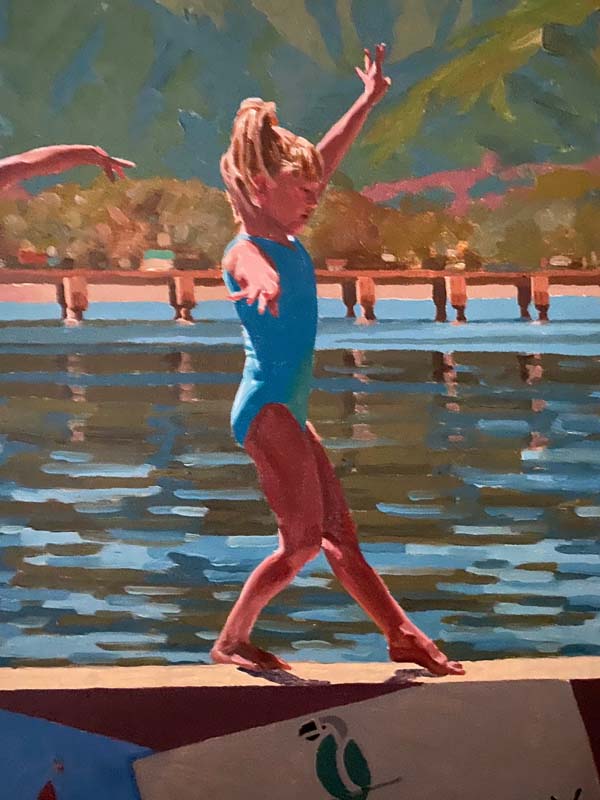
Austen is finished. Her delicate fingers are very precisely
painted, showing how she uses them to balance herself.
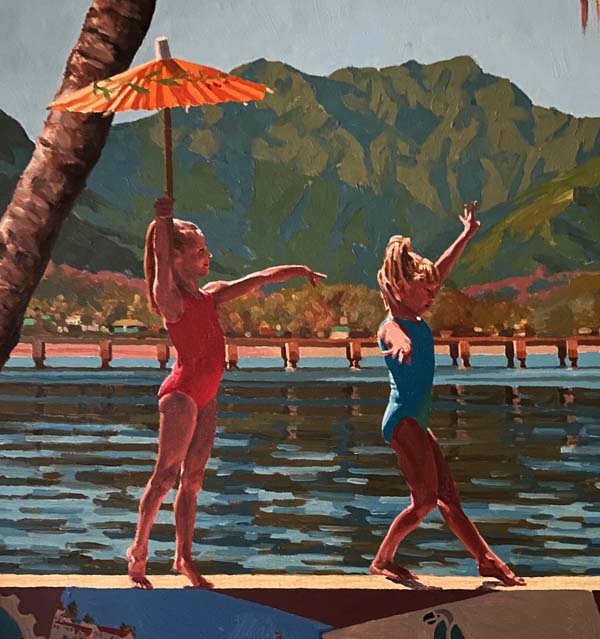
Here's a look at the two sisters together. They look great!
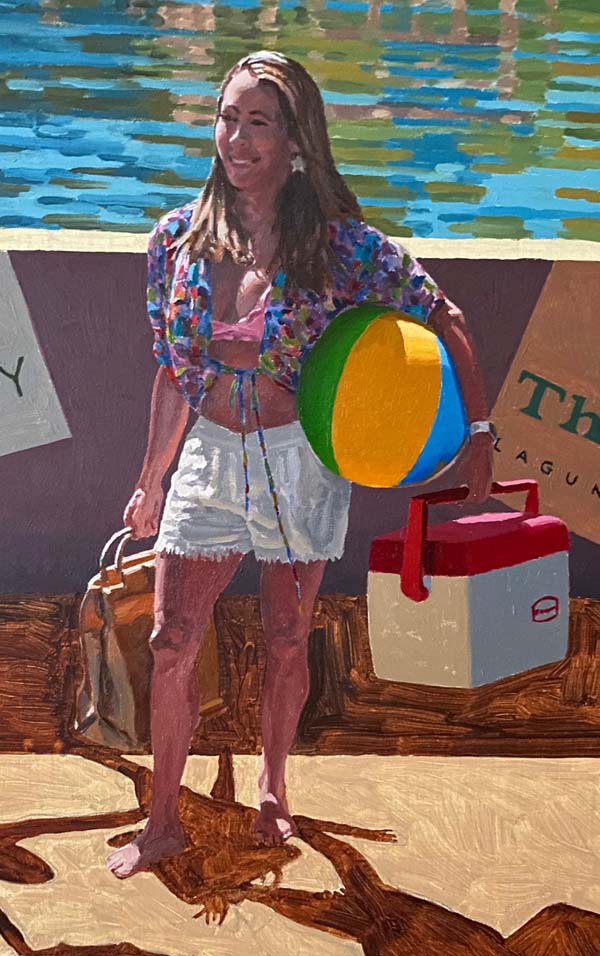
Amber was the subject to finish today. Troy is next!
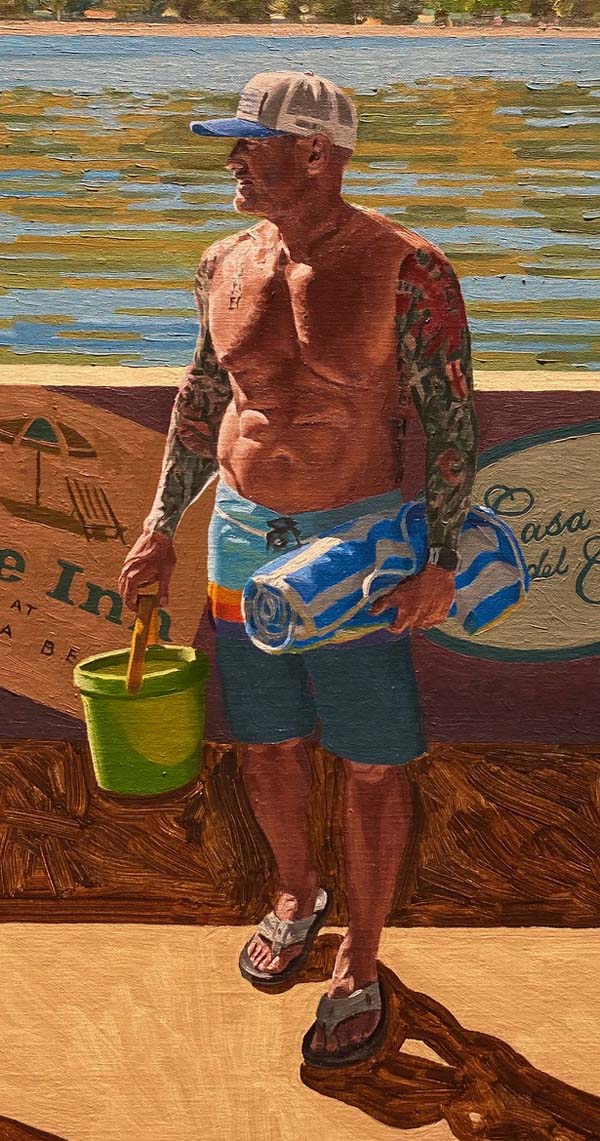
Troy is now completed! A fun study in anatomy and full arm
tattoos!
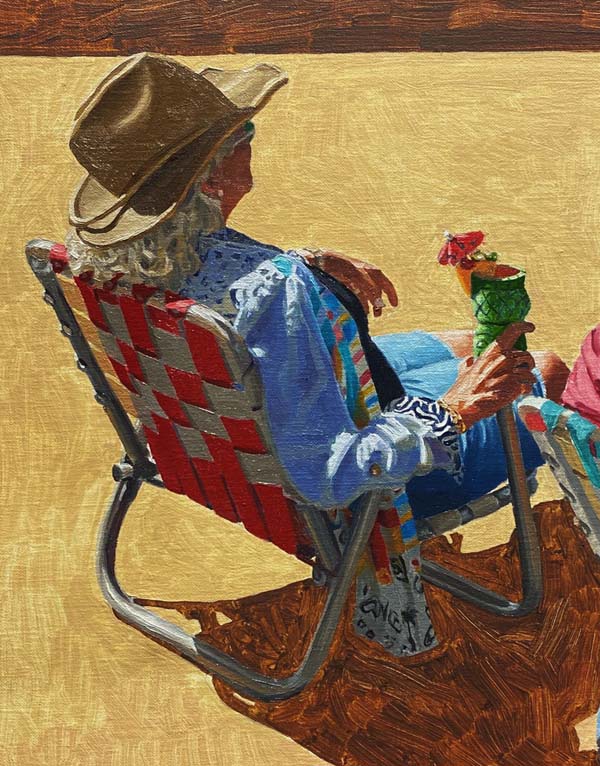
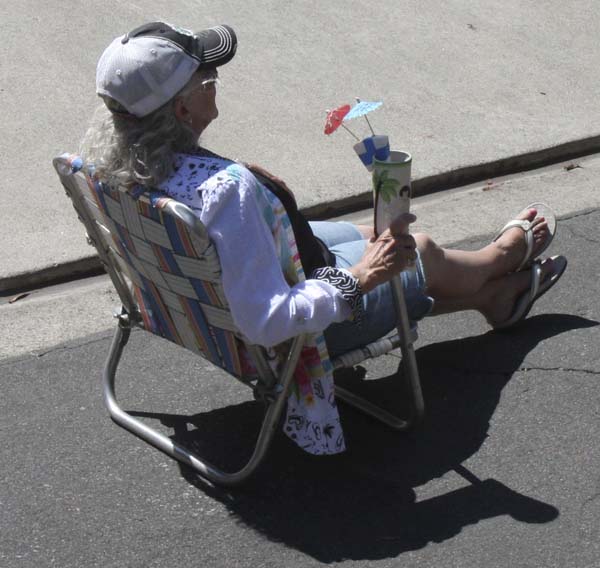
Helen is completed. She looks great!
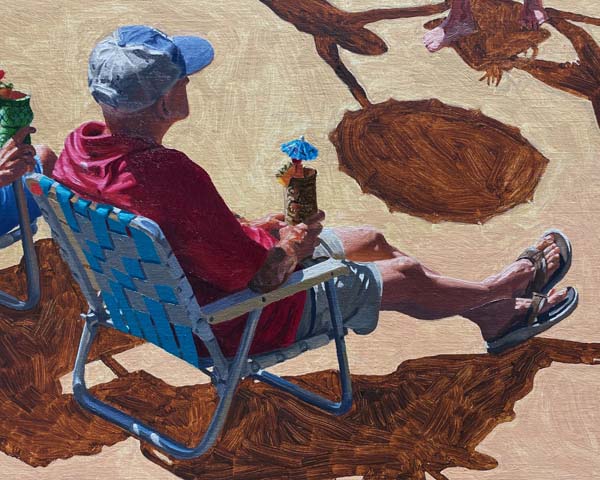
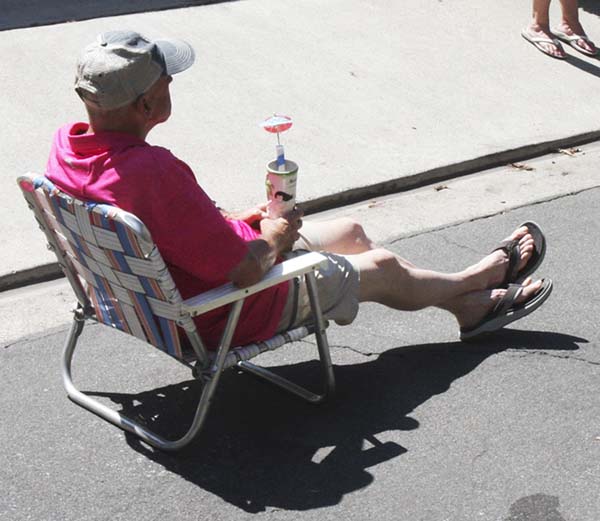
Butch looks great also! I love their casual postures in the
beach chairs!
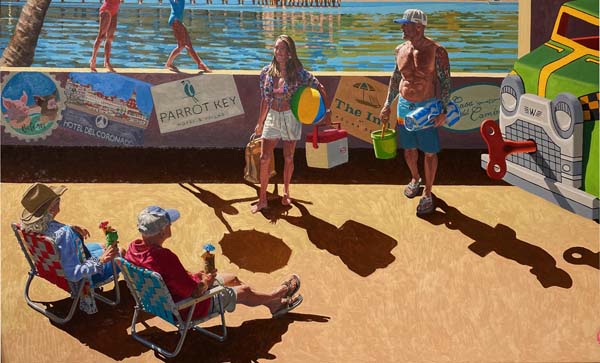
All the cast shadows have been rendered, giving the painting
that 'pop' because of the increased values. The only thing left
is the sunlit part of the ground.
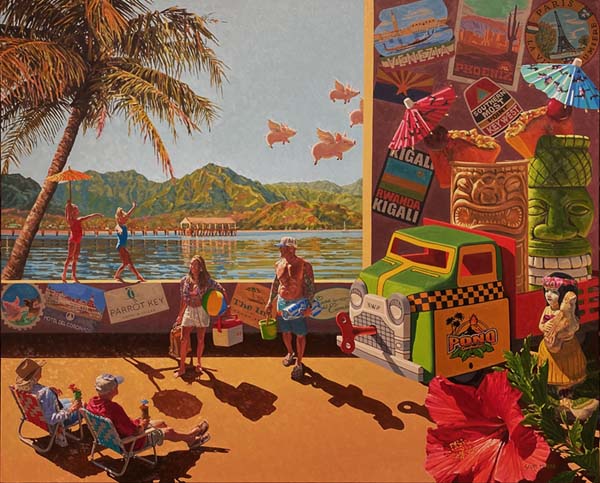
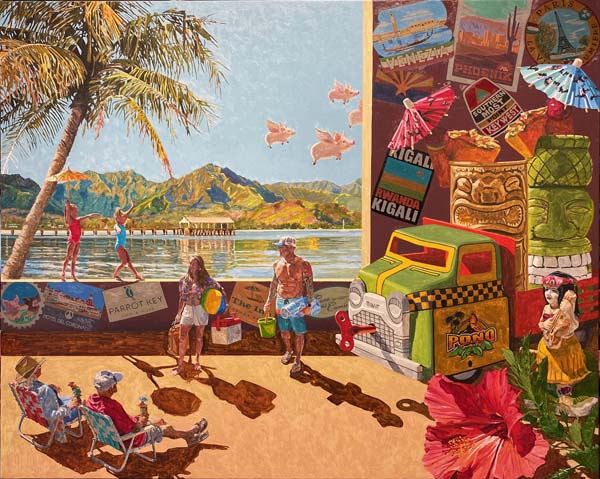
With the ground painted in, the Glispie Family Painting is done.
This has been a lot of work and the result is stunning. Working
with Helen on all the content, photographing etc. has produced
one of my best works. Thanks Glispies'!