Safari Antenna Fabrication
I have shown two ways to make an antenna for a VW bus that has safari windows and the standard two holes from a stock single post antenna. The first example is from a solid 1/4" bar of aluminum. This method works well, but the reception is not as good as a telescoping antenna. The second example is for a telescoping antenna. When I did the 'bending' on the telescoping version of the antenna, the available antenna masts were made of brass and were chrome plated. This made the bends very smooth. Unfortunately the manufacturers are making a 'better' product now and the masts are made from stainless steel. You cannot bend the stainless steel mast without getting some crimping in the bends. Also, the antenna base is now made out of plastic instead of metal, and the parts that connect to the antenna cable are configured differently. So, if you find an 'old' antenna you will be able to follow these steps. I will update this webpage when I find an alternative way to deal with the 'new' antennas... Scott Moore
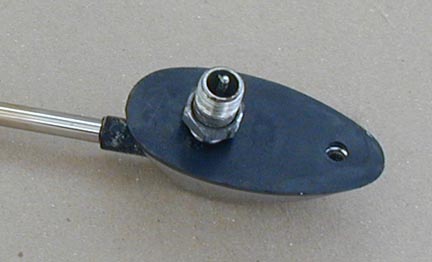
Start with a standard post antenna. Remove the black plastic seal and the screw post.
It will look like this.
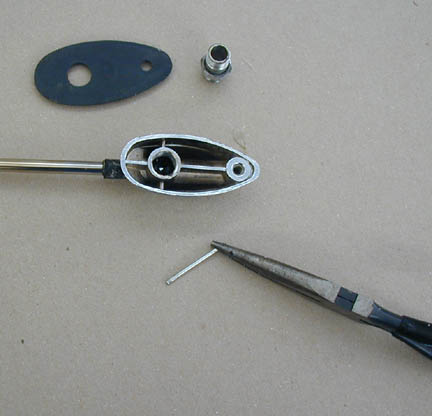
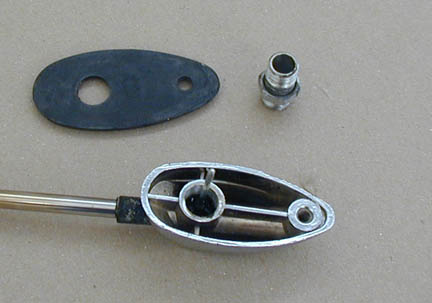
Remove the pin that is screwed into the antenna shaft. Twist counter clockwise with a pair of pliers and it will come out.

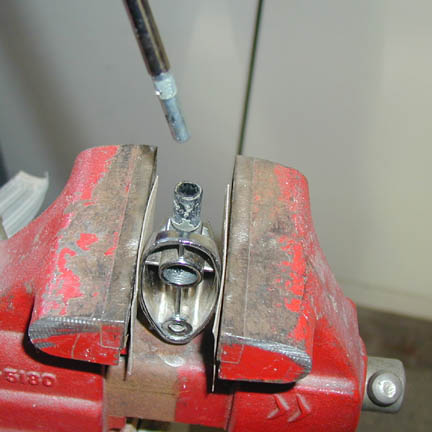
Secure the antenna base in the vise and heat up the bottom of the antenna mast, making sure you don't melt the black plastic ferrule that surrounds the antenna. You will need to get it hot enough so you can twist the antenna out of the plastic ferrule.
Pull it out like so. This photo is of an old antenna base, so the black plastic ferrule is corroded. A new antenna like this only costs about $12.
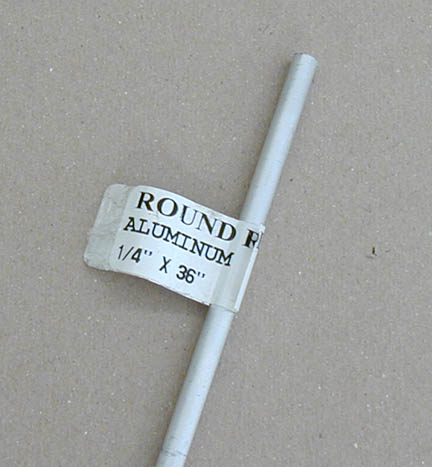
Purchase a piece of aluminum rod as above. Got mine at Home Depot.

Clamp the aluminum rod in the vise and bend to suit.
Insert the rod into the base and and check it for clearance of the window.

When the rod fits properly, epoxy it into the base. When the epoxy is set, drill a hole (5/64" drill bit) into the rod, making sure you have maintained its proper position since checking it on your bus.
Screw the terminal post that you removed from the original antenna into the newly drilled hole. Now screw the screw post back into the hole surrounding the terminal.
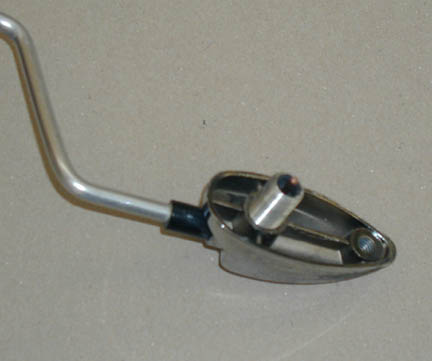
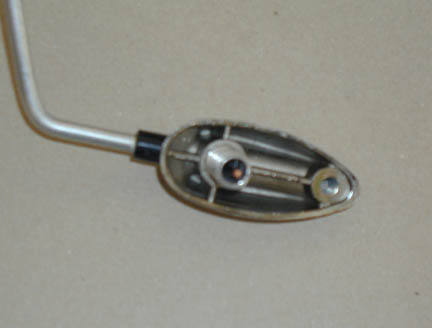
It should look like this.
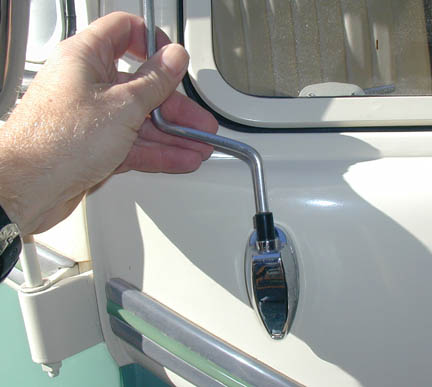
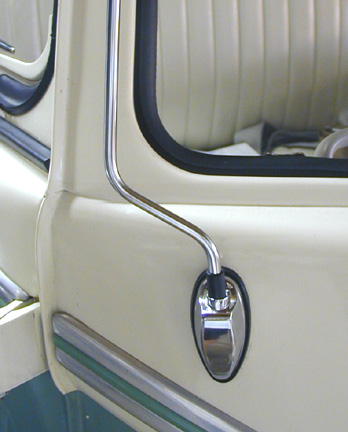
Reinstall the base onto the bus and connect the antenna cable. I trimmed the top of the rod so that it would clear my garage door. I rounded it off and then polished the whole thing with simichrome polish.
Tune in your favorite station and get that bus back on the road!
Here is an alternative that I have since installed on my bus:
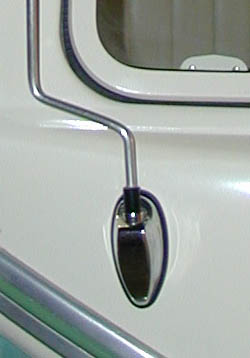
I disassembled the new antenna as above.
Then I took the 1/4" aluminum rod and sanded it down a little so that it would fit into the bottom section of the antenna mast with a little pounding. I used about 9" of aluminum rod, drove it all into the section leaving the same amount as the original metal plug that had extended out the bottom of the mast when I removed it from the base. With the solid aluminum rod now 'filling' the hollow mast, I used a tube bender with a 5/16" slot to make the bends. I covered all the areas of the bender that touched the mast with masking tape to minimize scratching. After the bends were correct, I reassembled the antenna as in the webpage above.
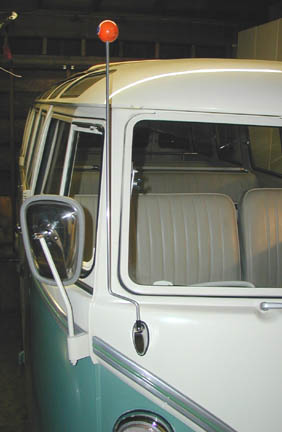
Here is how it looks:
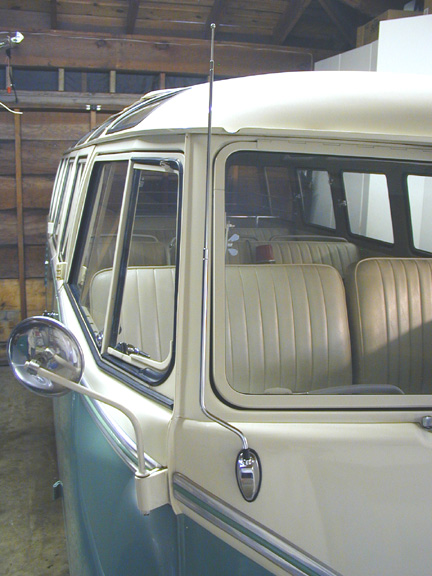
This version allows you to extend the antenna and the reception is much better than the solid rod version.
Scott
Email any questions to: scott@scottmooreart.com