Middle Seat Kick Panel Restoration
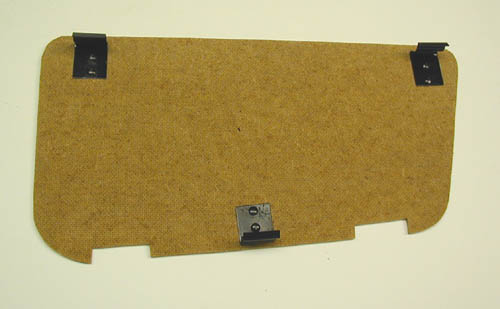
When I bought my bus, I noticed that it had the kick panel, but I didn't notice that it was held onto the seat with screws and wire. It only had one clip left on it, the backing board was distorted from water damage, the vinyl covering was curling up because it didn't go under the trim piece, and the trim piece was loose in a couple of places because the rivets were broken. Now, this wasn't the original material on the kick panel and I'm not redoing my interior at this time, but wanted to get it looking decent and close to it's original 'look'.
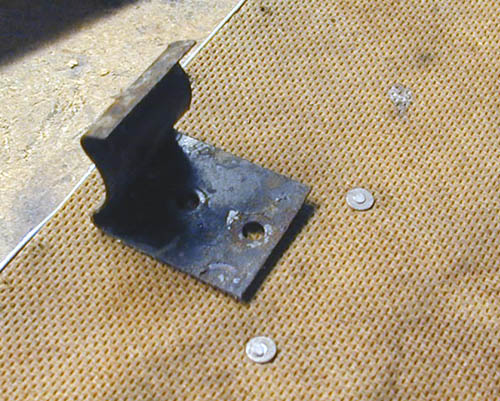
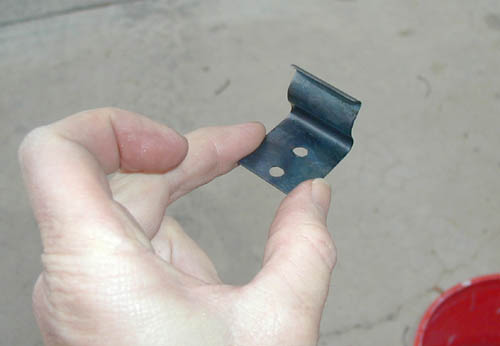
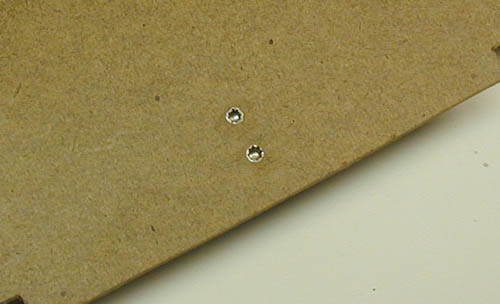
Here's a close-up of the one clip that was left. I searched for awhile, trying to find a couple of clips off of a damaged panel, only to find out that a mangled kick panel was still worth it's weight in gold.
I decided to fabricate a couple of clips myself. I bought some 24 gauge sheet metal and cut out a piece.
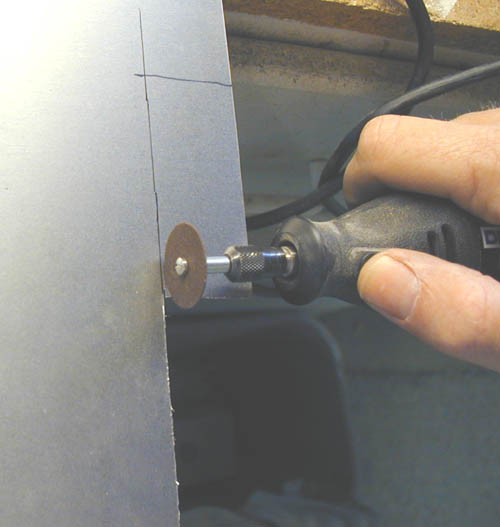
I used a dremel to cut it so as not to deform the metal too much.
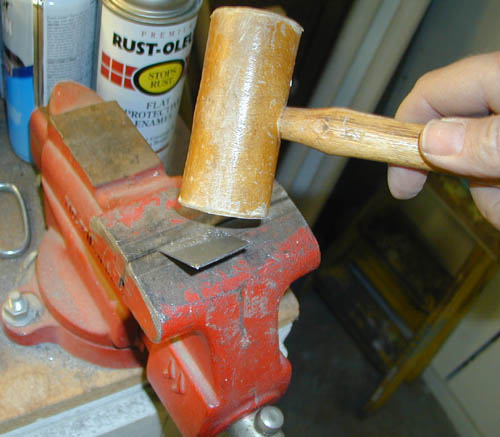
I pounded a bend into it...
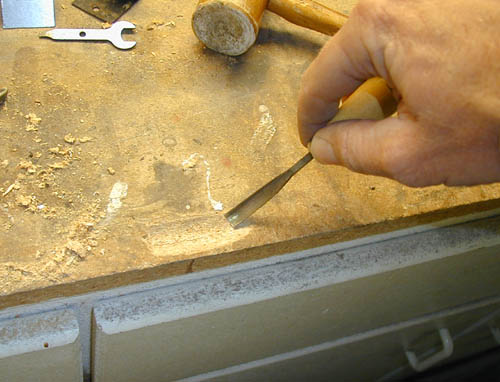
Then I dug a depression in my work bench...
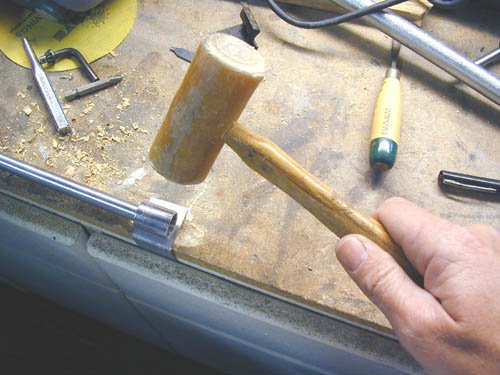
I put a socket on an extension and used it to form the curved part of the clip.
A little more convincing with a piece of pipe and...
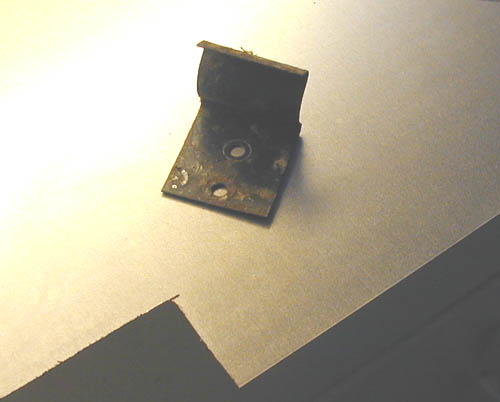
A couple of holes later I had my clip. Weldable sheet metal bends easily, which means it is soft -- too soft to be used as a 'spring' clip.
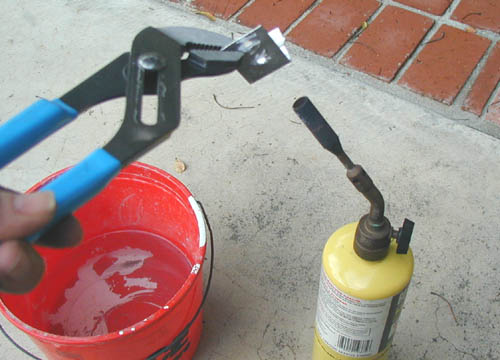
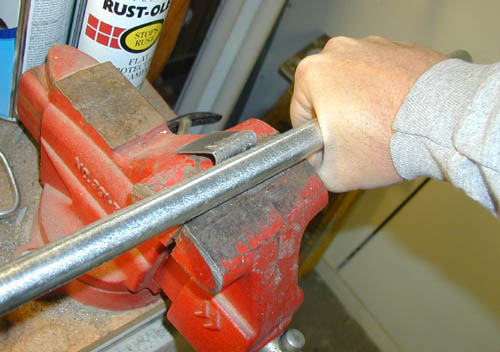
I heated the clip with a Mapps gas torch until the entire clip changed to a 'gun metal' color and immersed it in cold water quickly before it had time to cool. I reheated and cooled it one more time, gripping it with the pliers in a different spot on the clip, so as to heat the untreated area on the clip. This 'heating/cooling' process hardens the metal, giving it the characteristics of 'spring steel'.
Ahh, the finished clip.
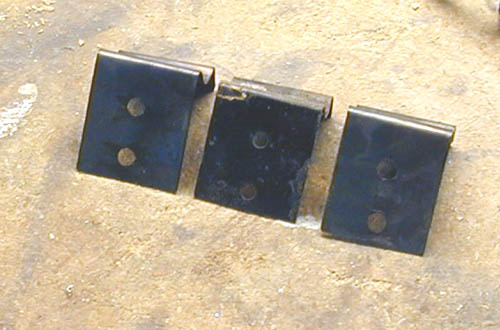
Close enough to call them 'triplets'. A little primer and gloss black paint and...
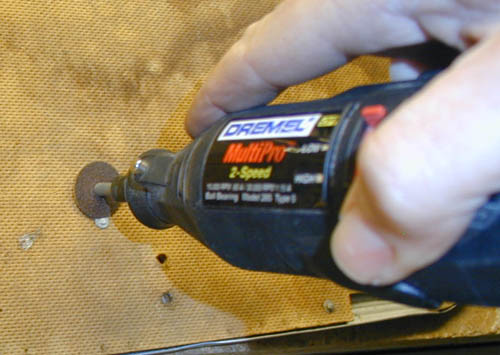
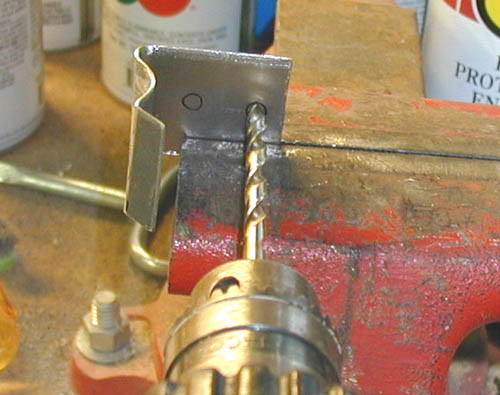
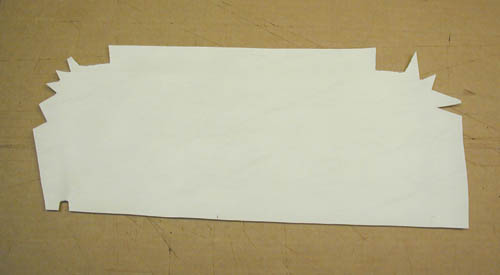
Next I 'dremeled' off the old rivets, removed the aluminum trim piece, and traced a pattern from the old panel onto new 1/4" masonite.
I attached the clips with 3/16" steel rivets. They were solid from the head to half way up the shaft where they became hollow. They were 1/4" long, just short of coming all the way through the board. I put the head of the rivet on my bench vise and placed a Philips head screwdriver into the hollow area and rapped it a couple of times, expanding the end.
It looks like this. Next I cut out the vinyl...
Notice all the weird cuts to make the corners. I contact cemented both surfaces and glued them together. I mounted the aluminum trim piece with 1/16" shafted, solid, domed headed rivets. When I was inspecting my old kick panel, I noticed that the top of each 'domed' head had a flat spot on it. VW didn't use a rivet set (a backing bar with a recessed cavity for the 'domed' head to fit into when hitting the shaft) so neither did I. I placed a flat metal bar under the head and after placing a small washer on top of the shaft end, I gave it a small rap, spreading the rivet end.
Almost done. I then stapled the piping around the edge. Not 'OG' turquoise color material, but my bus was done in 'bone white' interior by the PO and it's still in good shape so I'll wait to recover/upholster everything
Like so... and...
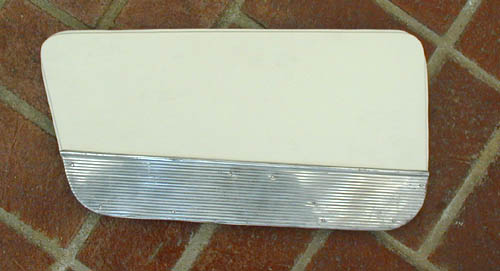
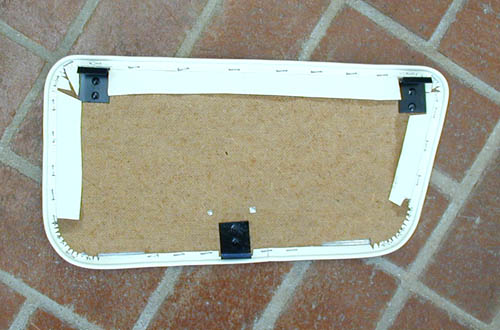
Done. Now I have to do the rear seat kick panel (does it ever end?) I love it!
I finished the rear seat kick panel the same way as I have shown here except that I used 1/8" rivets instead of 1/16" rivets. Check your panel and make sure what size rivets it calls for. VW wasn't very consistant in this area...