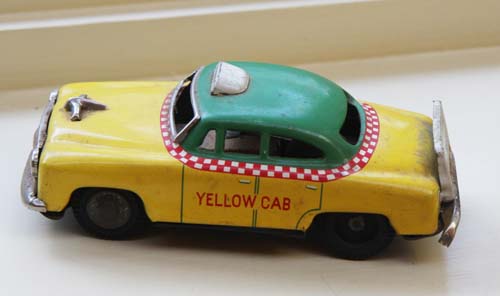
As with a number of my paintings, I start conjuring up my idea
for an image by first obtaining a fun object. In this
case, it is a small tin taxi cab, made in Japan in the 1950's.
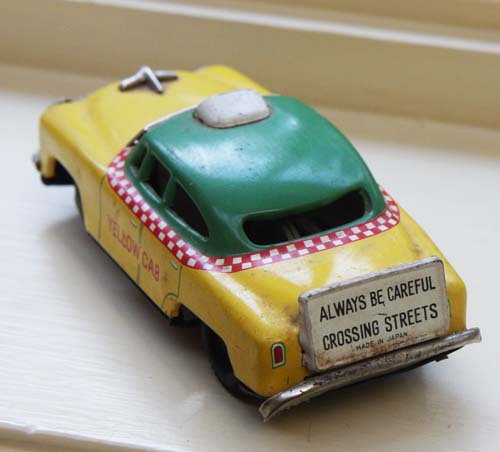
The back of the cab has a sign giving a safety warning instead
of the usual advertising.
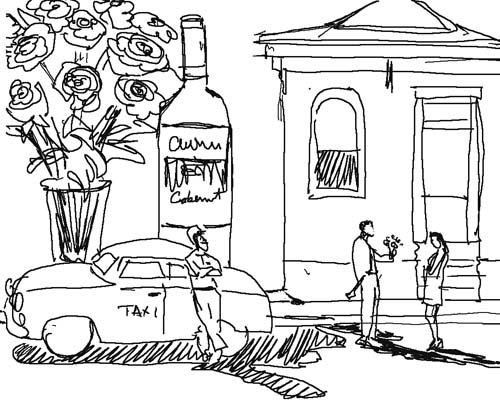
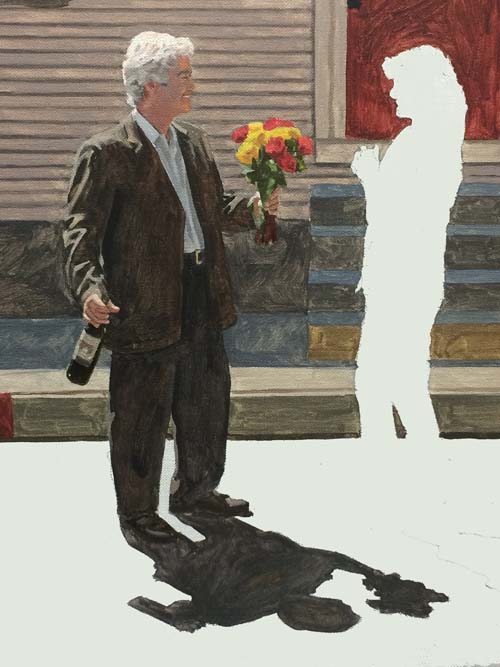
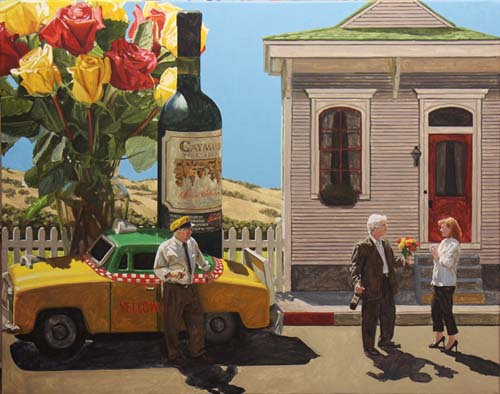
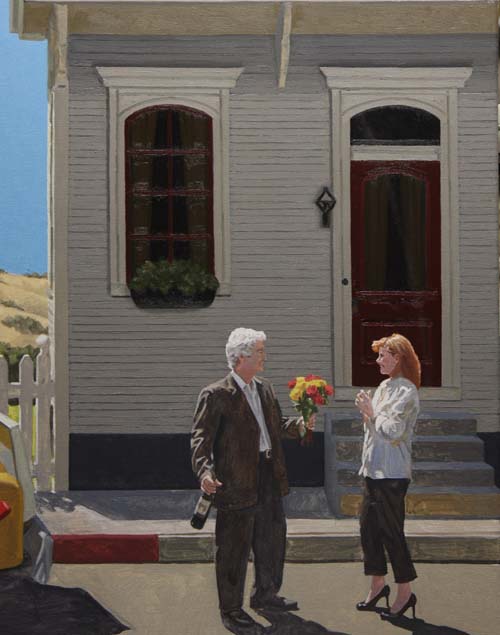
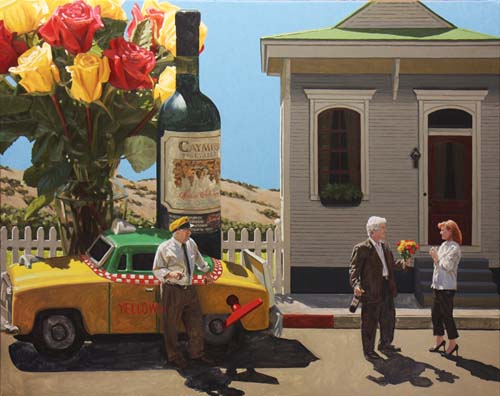
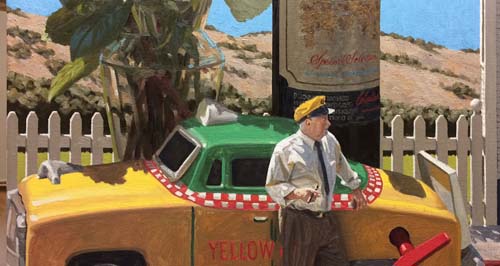
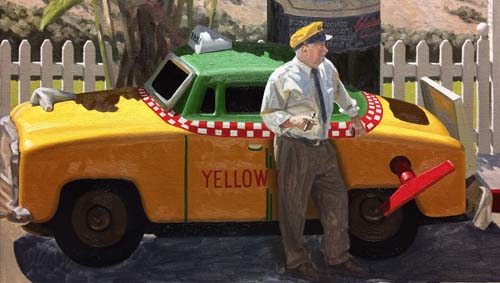
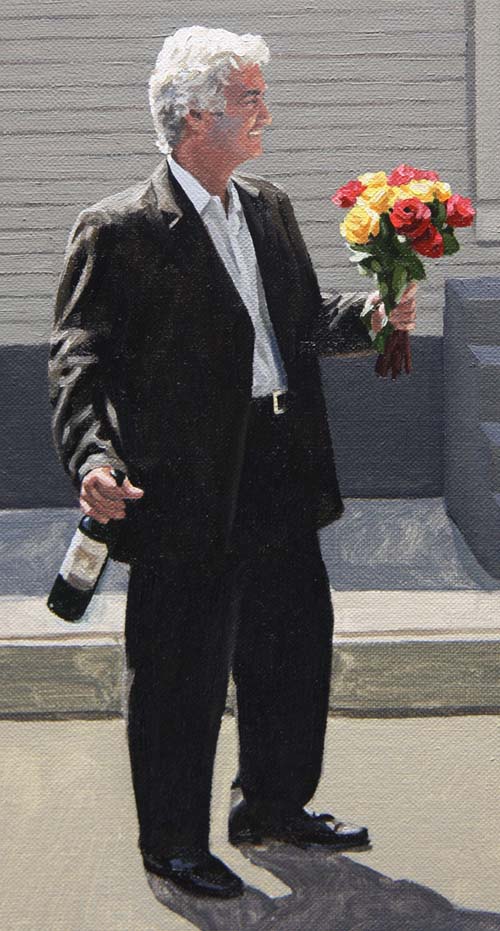
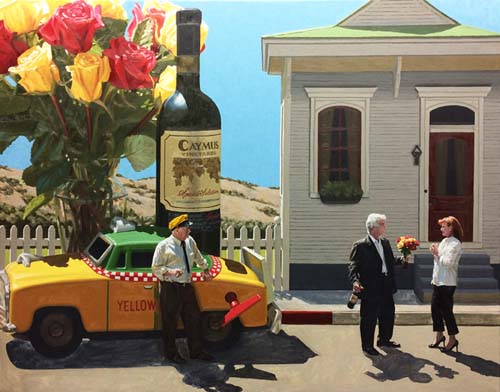
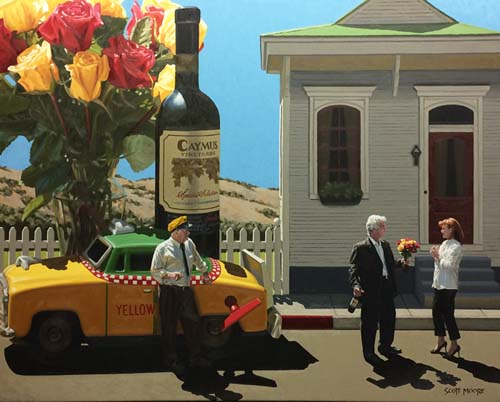
In this painting, I've decided to tell a story of love. A
man has taken a taxi to his love's house and greeted her with
flowers and a bottle of wine.
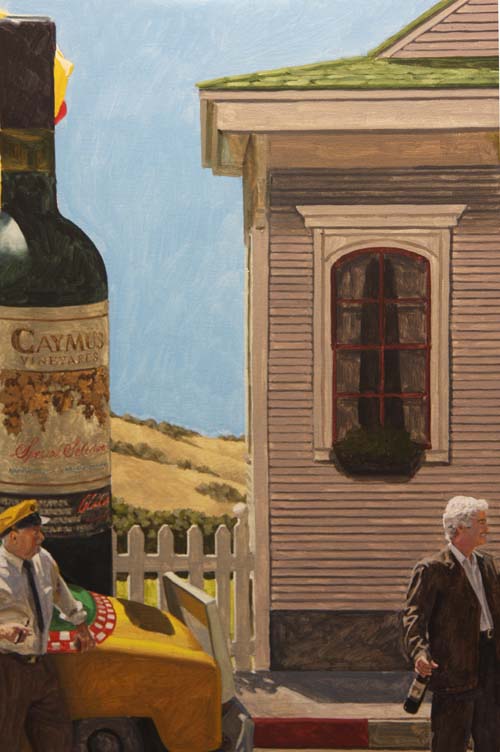
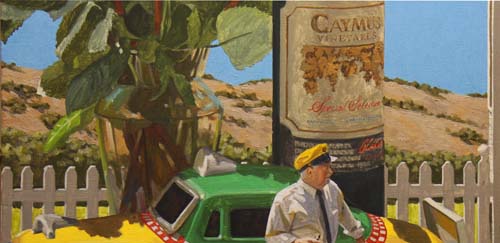
The title of this painting will be "Two Cabs." The second
cab is pictured above.
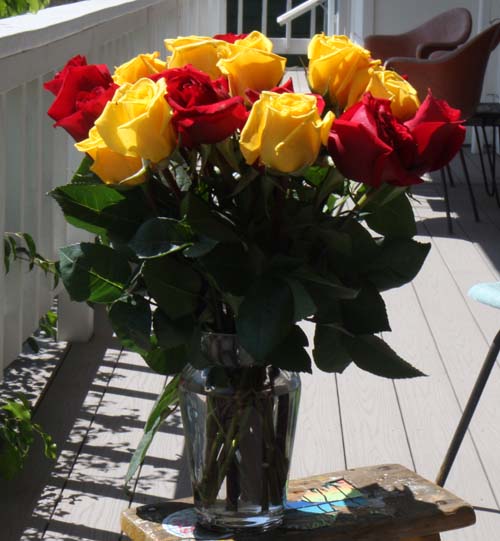
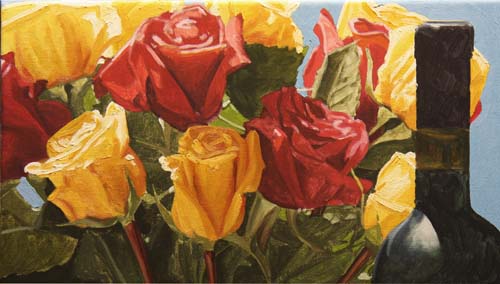
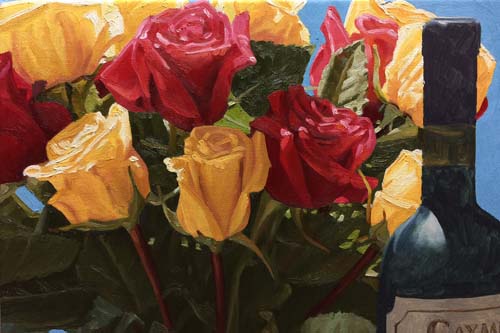
Here is the bouquet of roses I will paint from.
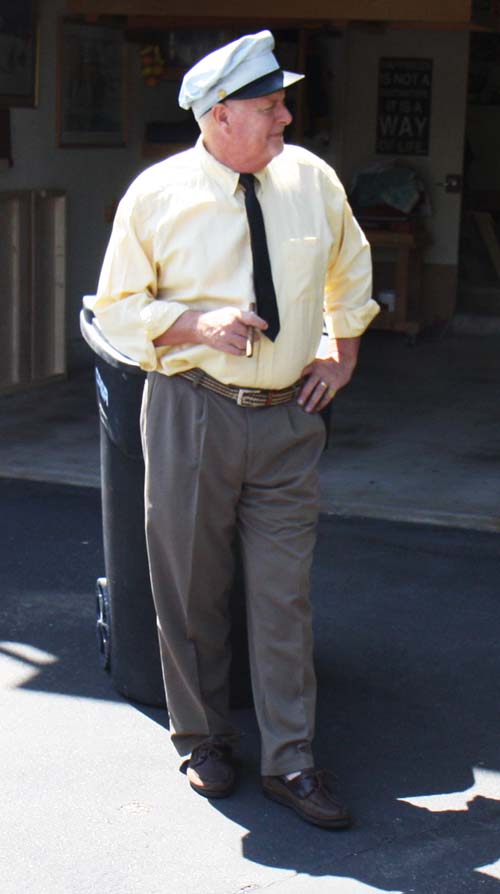
My good friend, Derek, and his wife, Gail agreed to model for
this painting. On the day of the photoshoot, Derek's
sister Debbie, and her husband Scott, detoured their vacation
plans and came by so Scott (above), could be my taxi driver.
For a spur of the moment event, Scott fit the part like a glove.
Thanks again, Scott (and Debbie)!
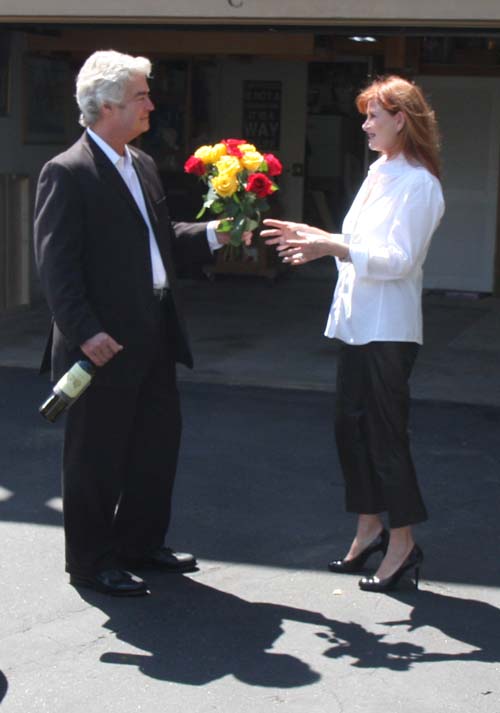
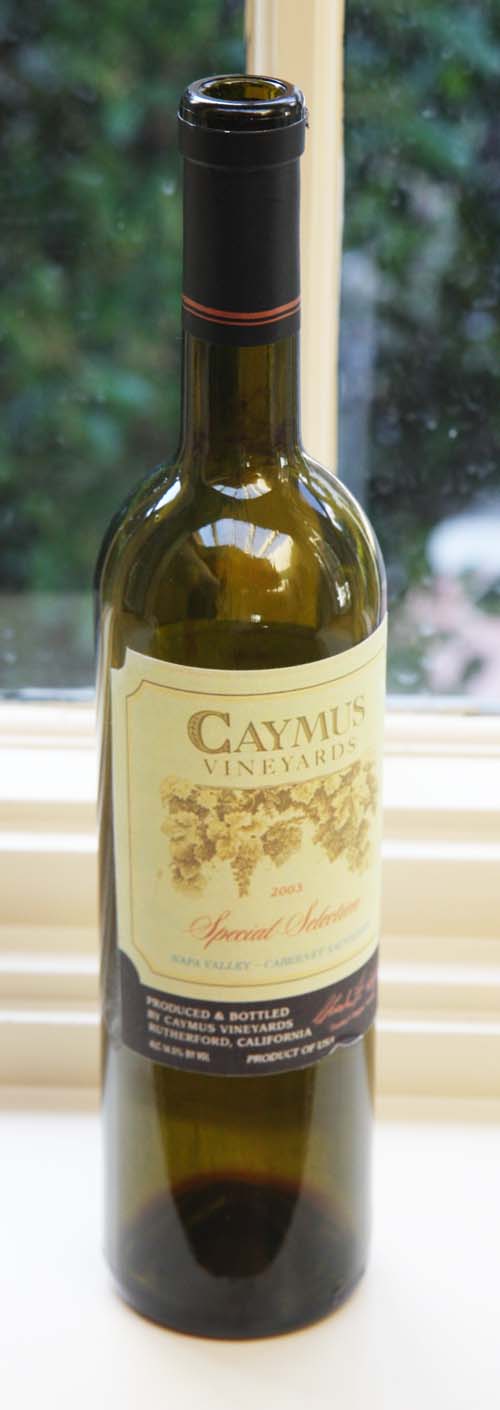
I shot a number of poses of all the models, trying to get the
essence of the moment in time. Here, Derek presents Gail with
flowers, while he holds the bottle of Cabernet Sauvignon in his
other hand.
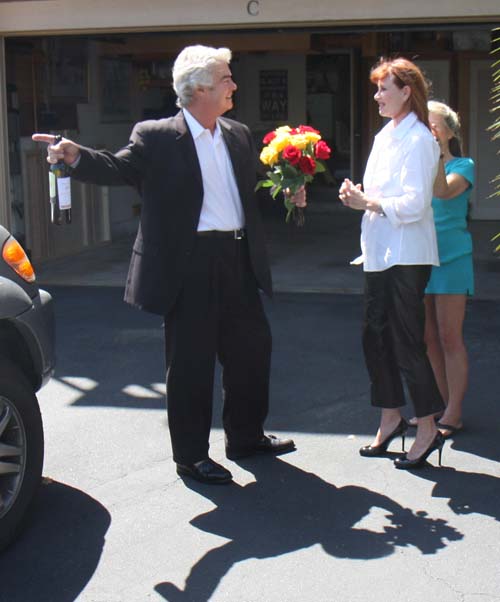
Things don't always go smoothly. The wind was up this day,
so Carol had to hold Gail's hair in place for a few of the
photos.
Stay tuned as I stretch the canvas and start my journey on "Two
Cabs."
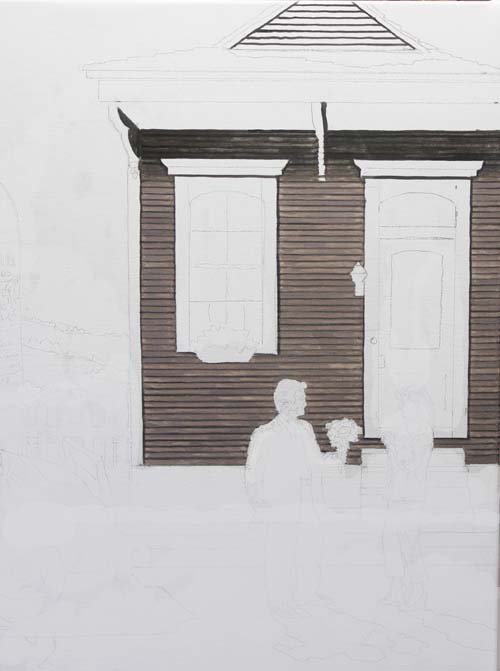
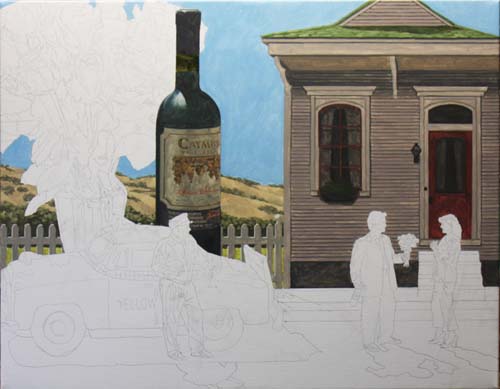
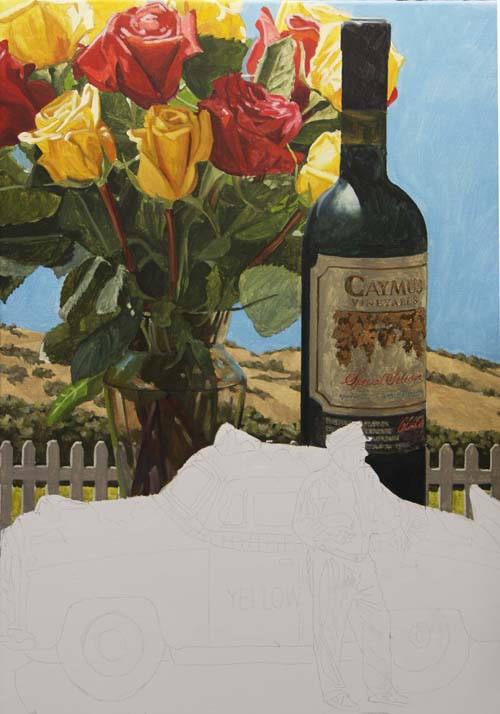
I've sketched the basics of the painting on the canvas and have
decided to work on a more tedious area of the image first.
The narrow siding on the house calls for very precise detail so
I've started there. I've used a mixture of burnt sienna,
French ultramarine, alizaron crimson and white to 'color' the
siding, with the darker lines made from burnt umber and French
ultramarine blue.
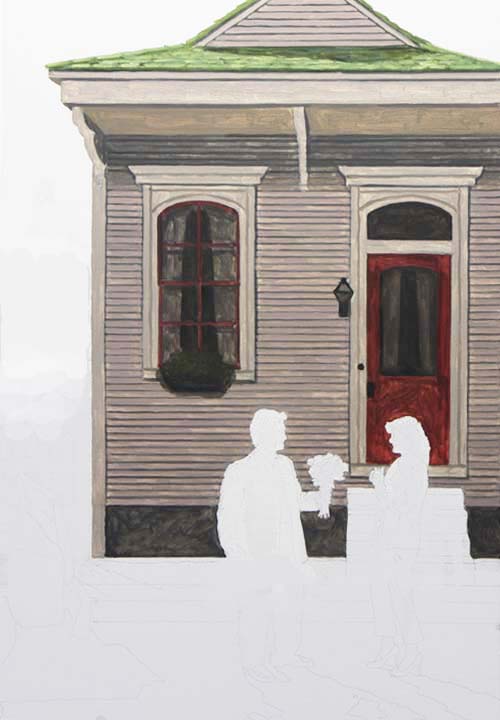
I blocked in the rest of the house with turpentine thinned
washes of oil. Alizaron crimson, burnt sienna and black
for the door and window trim. Thalo green, cadmium yellow,
burnt sienna and Permalba white for the various shades of green
on the roof.
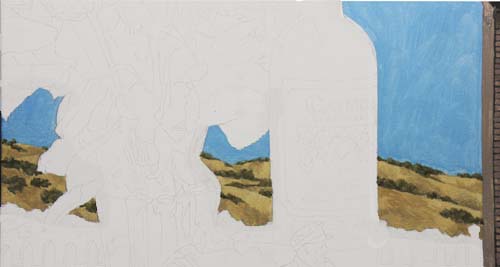
The sky has been blocked in with a mixture of thalo blue and
cadmium yellow. The distant California hills of oak trees
(French ultramarine blue, burnt siena and cadmium yellow) are
placed on the hills which are painted with a thin layer of burnt
umber, cadmium yellow and Permalba white.

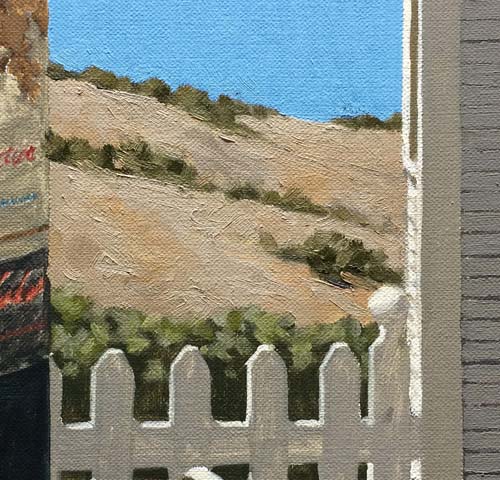
Here's a close-up of the picket fence, defined by the darker
values of the bushes and grass behind it.
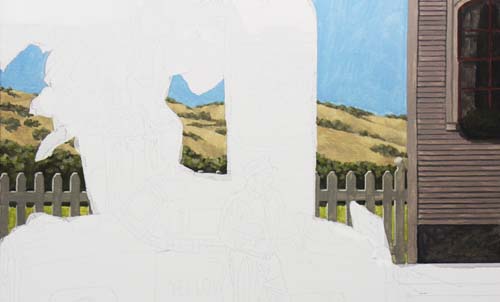
This shows the picket fence and the background, completed for
this phase of paint layers.
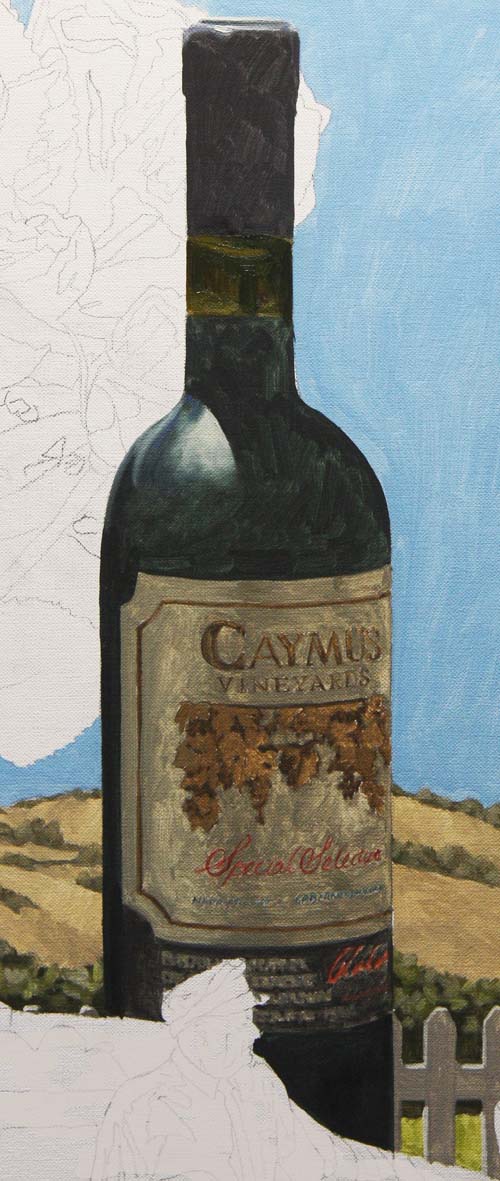
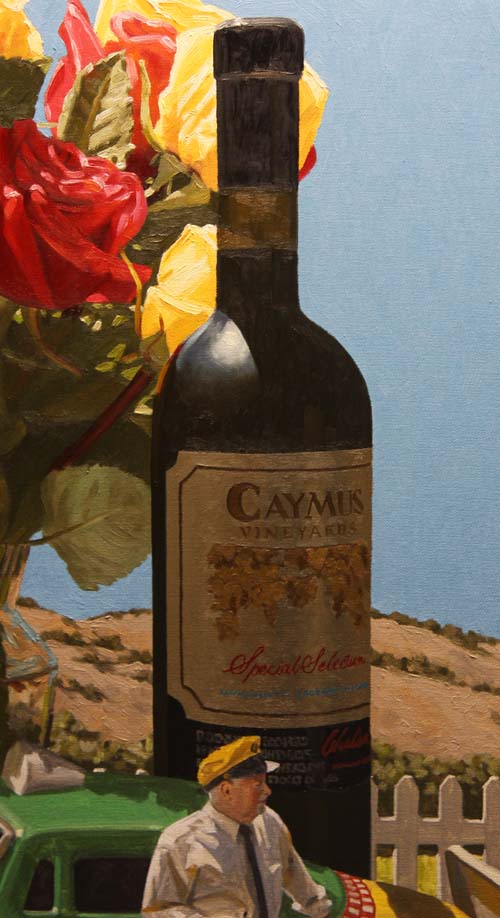
The bottle of cabernet sauvignon is shaded by the flowers,
except for the very top of the bottle and the light that hits
the left shoulder of the bottle.
Here's what the entire canvas looks like so far.

Next, I've defined the greenery of the roses and then...
...the red and yellow roses themselves.
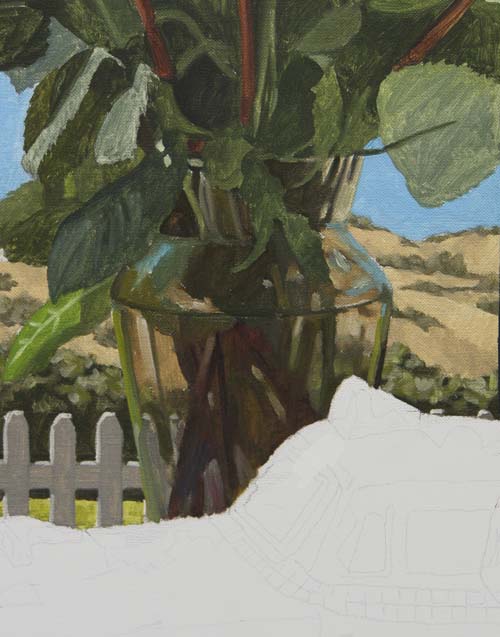
The clear glass vase took some inspection. Since I didn't
have the hills and bushes behind the vase to see what the
distorted shapes would look like, I had to make them up.
This photo shows the final 'roughed in' flowers and upper left
area of the painting.

Scott, my taxicab driver is sketched in with a thin layer of
oil. I really like his pensive pose.
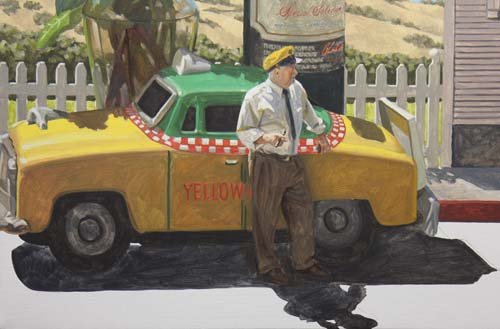
He really looks like he owns that tin toy taxi!
"Two Cabs" so far...

Here's a real close-up of Derek. You can see the texture
of the linen canvas. If the tooth of the surface was any
rougher, I wouldn't be able to define the features of a small
figure.
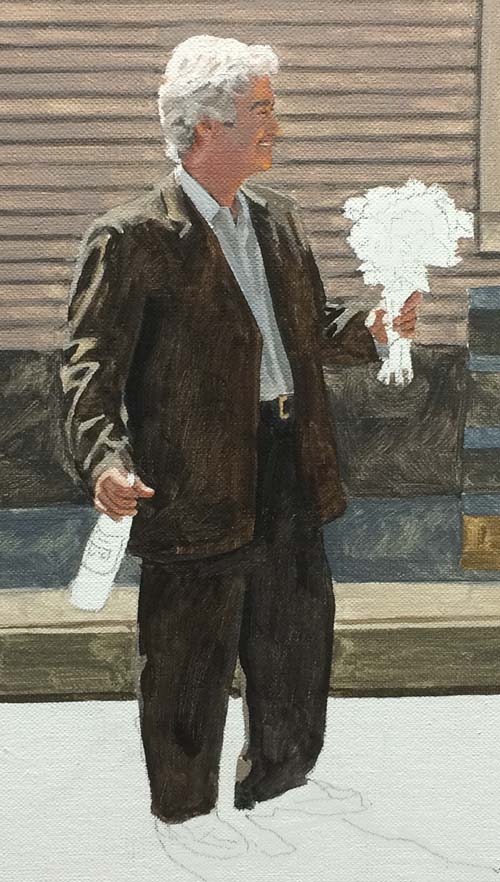
I've roughed in his clothing and...
...finished him off with the bottle of wine, flowers and his
cast shadow.
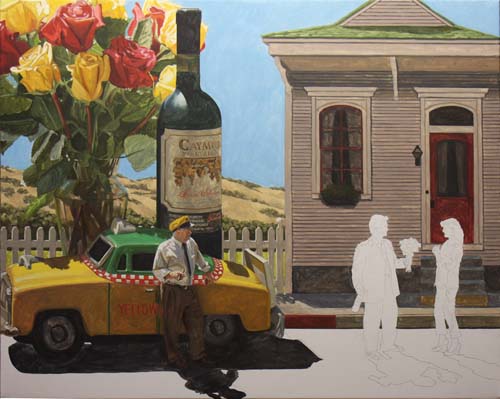
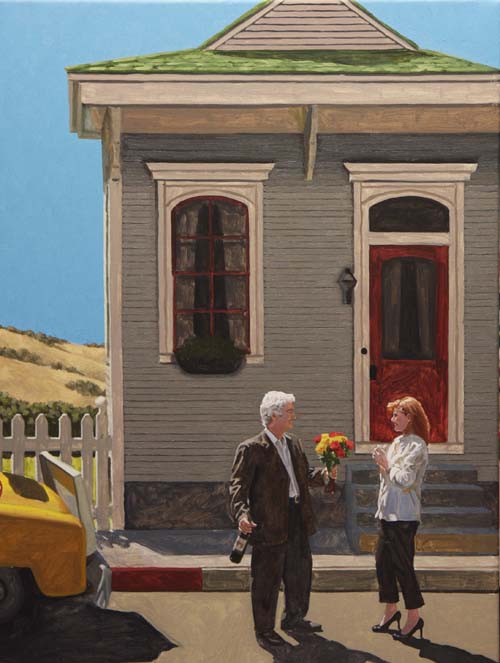
I made a correction to the house. My first intention with
the house was to make it look flat and to have a flat wall
behind the vase of flowers. When I changed my flat wall to
a view of the distant hills, I forgot to change the perspective
on the house. With the viewer's eye coming into the
painting from the mid left side of the image, a small portion of
the side of the house would be seen. I've adjusted that,
the roofline and also (not seen) the front door steps.
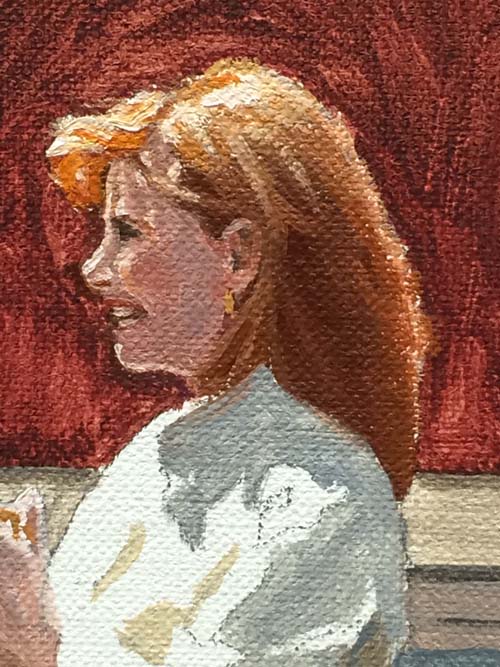
Gail is the last 'object' that I need to give its first layer of
turpentine thinned paint. I worked on her head first.
Here's a photo of Gail from head to toe. She came out
great!

Now the painting is at its halfway point. At least that is
what I call it. It is in no way half done, as the final
paint application takes about twice as long as the first coat.
To begin the final process of applying the adjusted hue and
value of each object or area, I've chosen the sky as my starting
place. Using the same pigments (thalo blue, cadmium yellow
and white), I've applied it with a #1 bright bristle brush.
If you compare the two photos above, you can see that I've
darkened the sky a bit, forcing me to then darken other areas
around it to make it seem as bright as intended. I'll
paint the house next, darkening it also to not only help lighten
up the sky, but to give me a better backdrop for the two figures
standing in front of it.
I've darkened the siding and also removed the pink tone from the
gray. See how bright the trim around the window and door
looks now.
I'm painting the door and window trim a darker value also.
See the area around the bottom of the door that I haven't
painted yet. This will give you some idea how much darker
I went on the house.
Now the two figures will 'pop' more in the sunlight. When
I darken the red door, Gail's head will light up!
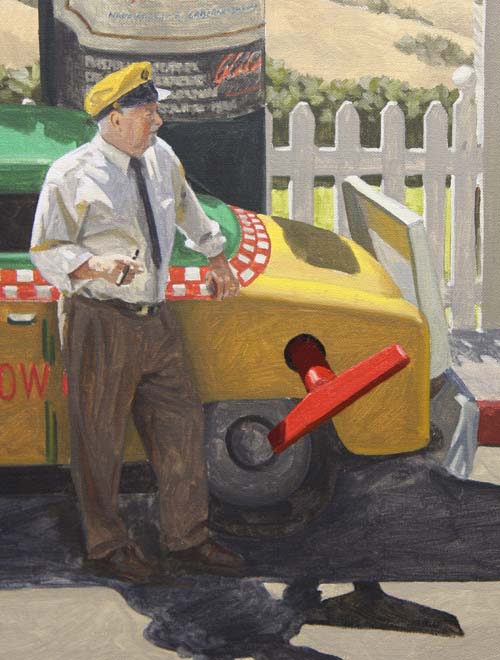
One thing has been bothering me in the painting. Although the
cab is a toy, it looks a little real for me now. So, I've
added a wind-up key!
The window and door have been given their final dark rich
colors, providing a good base value to make the house look like
it is in reflective light. It also provides a great
backdrop for Gail's head and hair!
I've finished and darkened the background hills to correspond
with the darkened sky.
Here's a close-up, showing the thicker paint application.
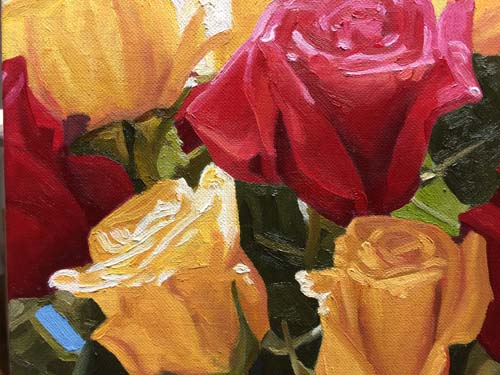
The bouquet of flowers is my next area to paint. I've
started with the yellow roses.
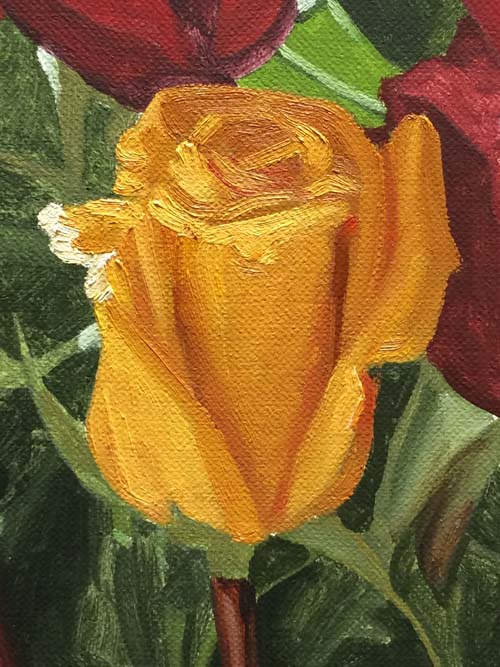
This close-up shows the how thick the paint is in the final
application.
Although my paintings are realistic, they are not photographic.
They have a painterly quality in the final application of oil
pigment.
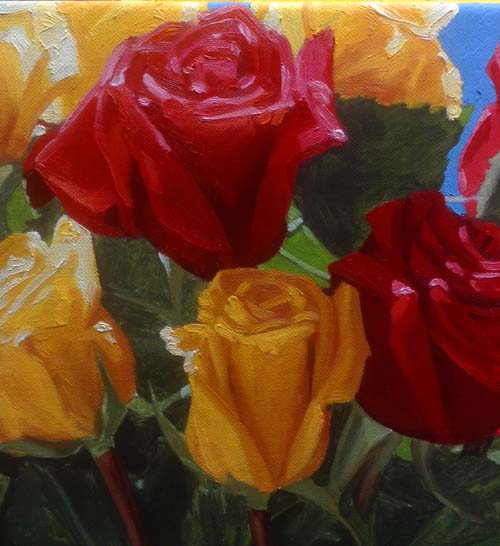
The red roses were next in line to be painted. Here is one
photo and...

...here is one more.
The greenery is finished.
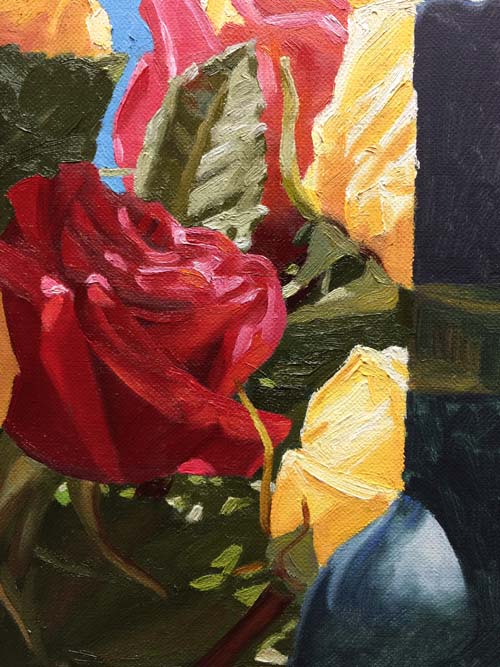
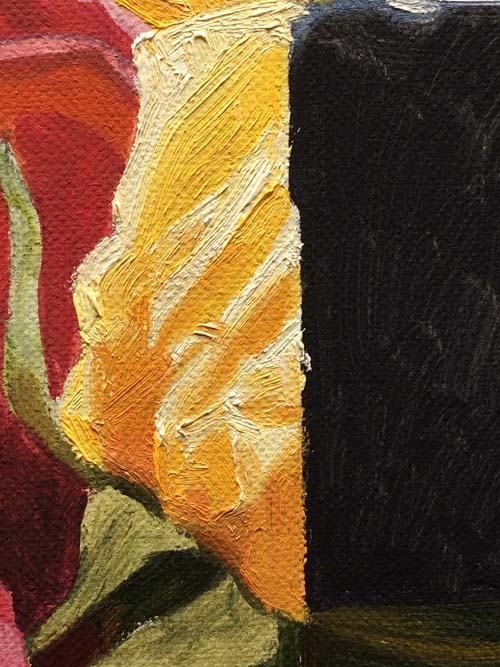
This close-up shows the thickness of the final paint.
Notice that the bottle of wine edge is rough. It will be
cleaned up when I put the final layer of oil on the bottle.
Here's one more detail, showing a completed area of the flowers.
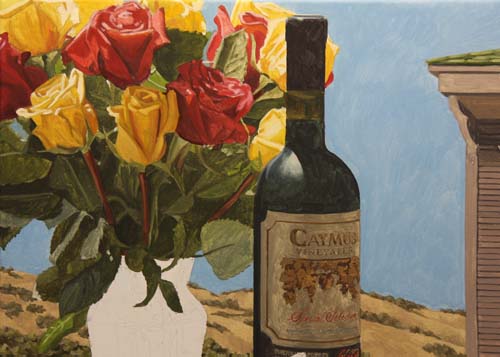
I've completed the glass vase and here is a look at the entire
painting.
The wine bottle is now finished.
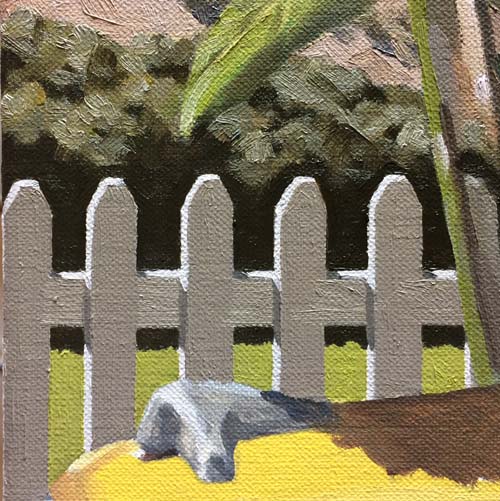
I've painted the fence with a gray mixed with French ultramarine
blue, burnt sienna, a touch of cadmium yellow and white.
The grass area and shrubs are darkened to make the fence 'pop'.
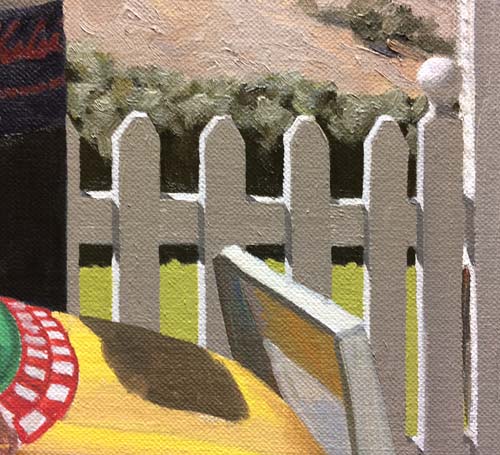
A look at the other end of the fence.
The fence and the area right behind it are competed.
I've just completed painting the taxi cab. In the photo
below...
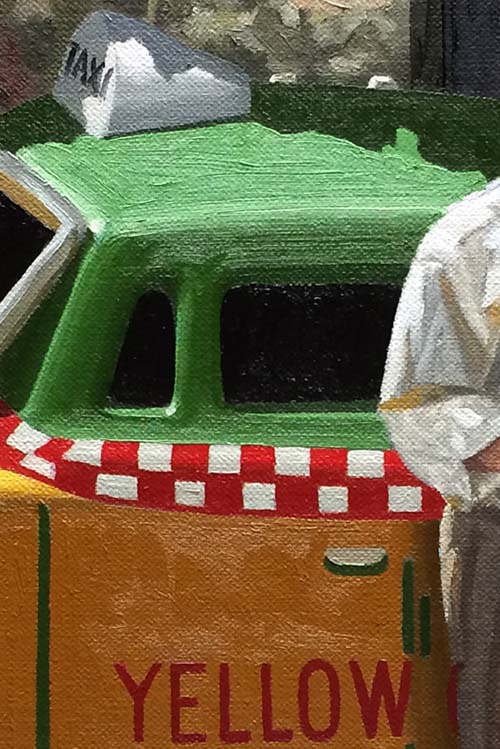
...you can see the thickness of the paint application.
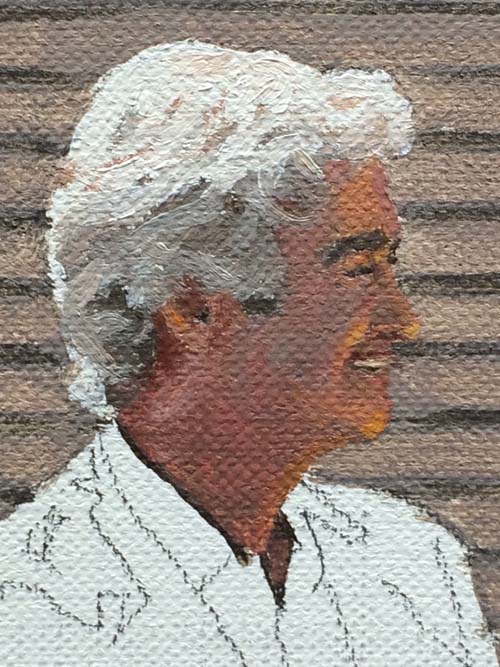
I'm moving on to paint the man (Derek). Since the taxi cab
will be wet for a few more days, I will come back to Scott, the
taxi driver later. Here is Derek's head after one layer of
paint. Compare it to the photo below which has the second
and final layer applied.
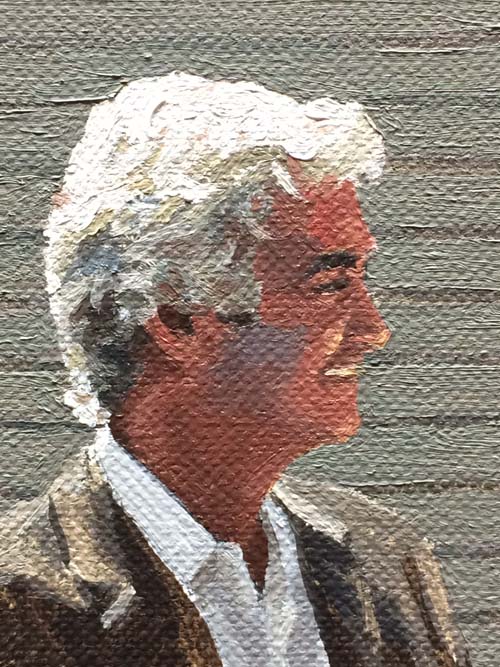
I've darkened the value and increased the saturation of the
colors.
This photo shows his entire figure. I pushed the value of
his suit to almost black, but made the color with burnt umber
and French ultramarine blue.
As I showed the comparison of the two paint layers with Derek,
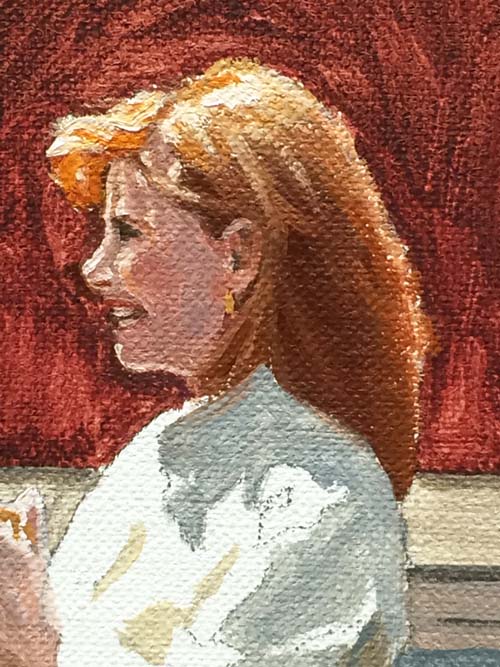
here is the same comparison with Gail. Before and...
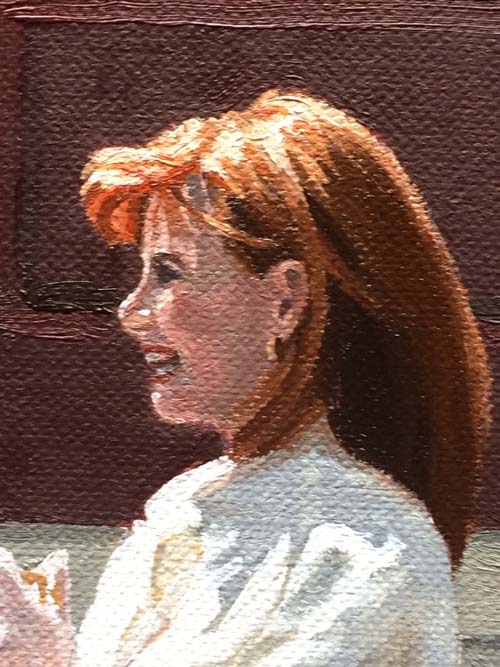
...after. I started by increasing the value of her hair and
adjusted all her skin tones to balance with that.
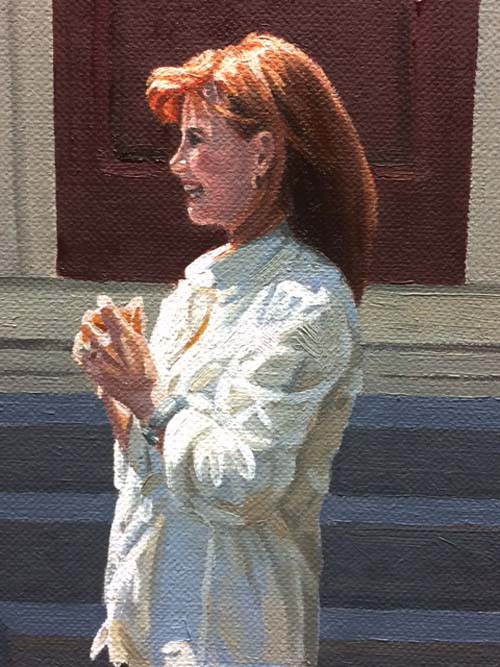
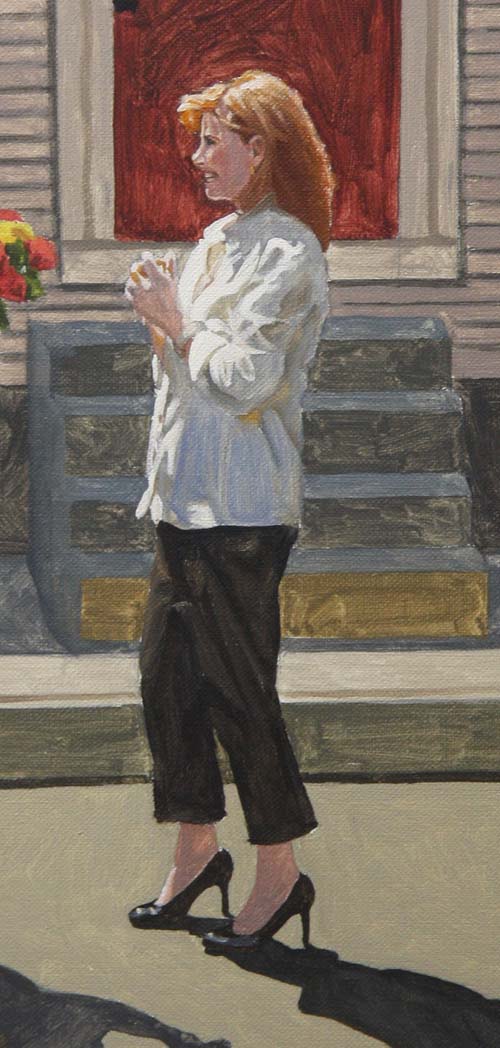
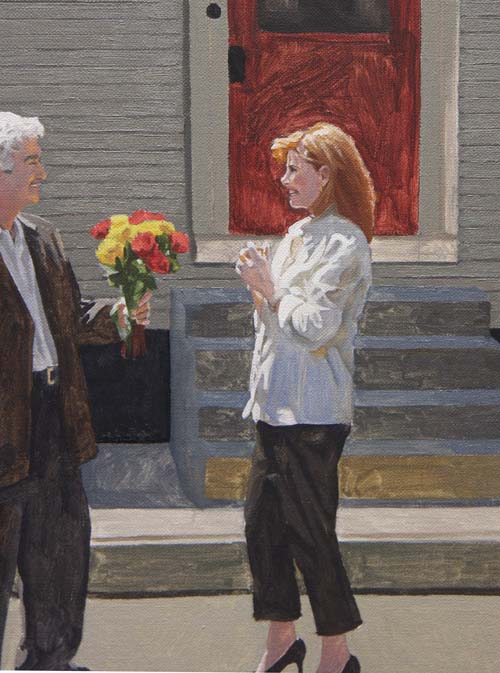
Gail's blouse has lots of subtle values, some being cool (like
on the shoulder) and others warm as those catching reflective
light from the ground and other light struck areas.
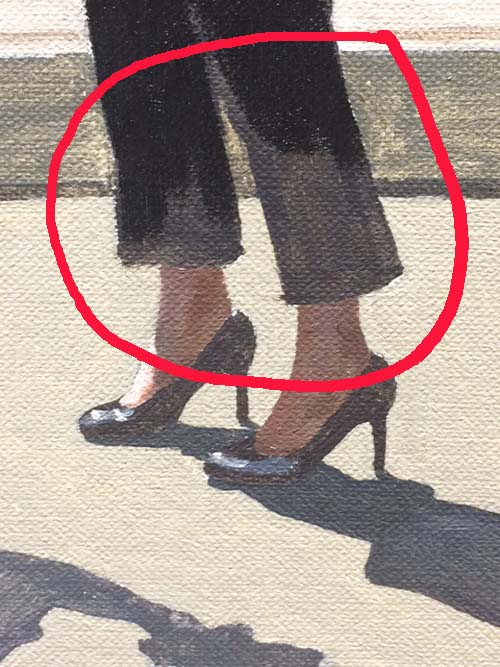
This close-up shows the value difference between the first thin
layer of paint and the final thick coat. In the red
circled area, you can see how much darker her pants are
becoming.
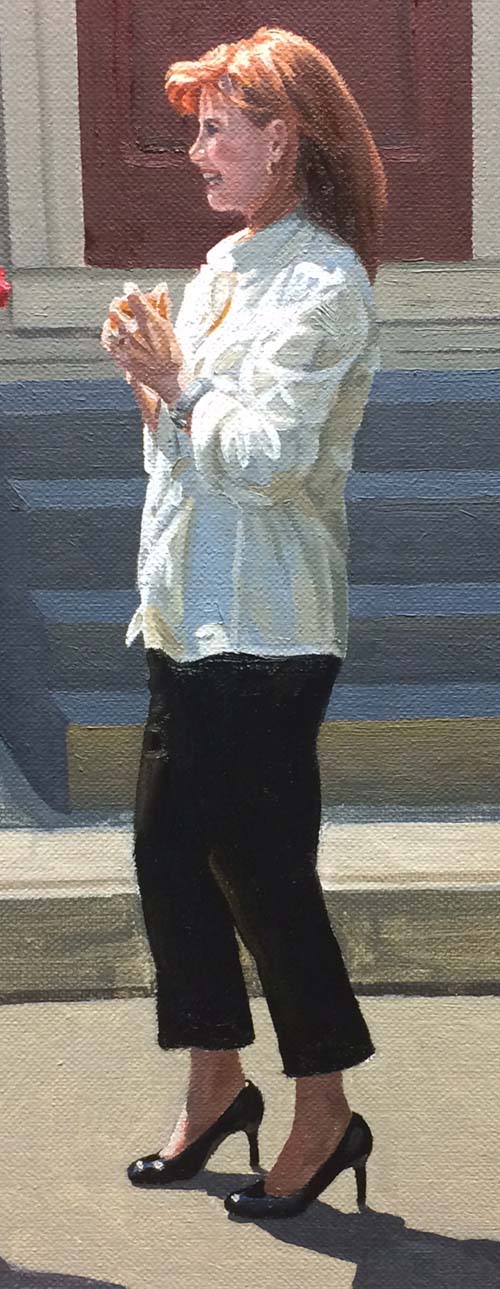
Gail is now painted with her final layer of oil pigment.
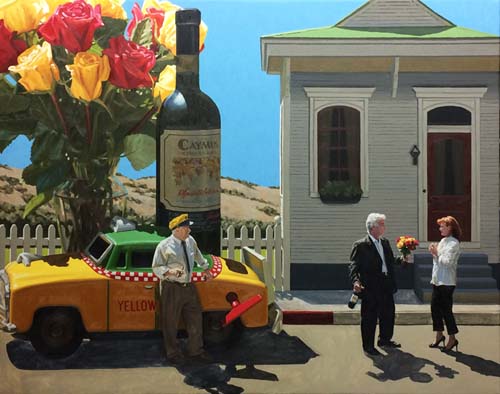
Here's a look at the entire canvas.
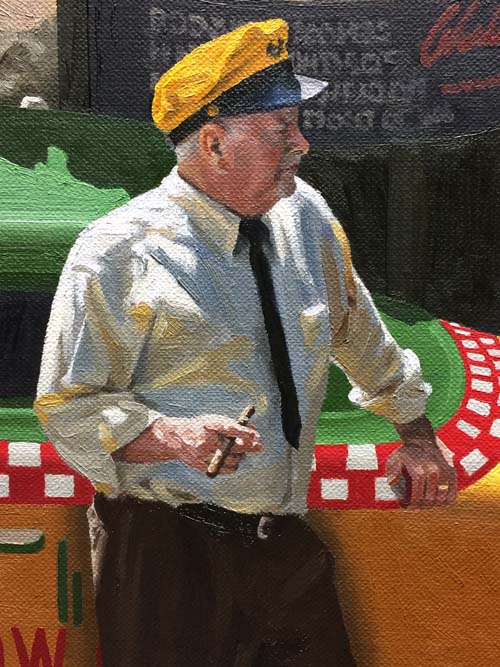
This torso and head shot shows the thicker and darker passage of
paint on Scott.
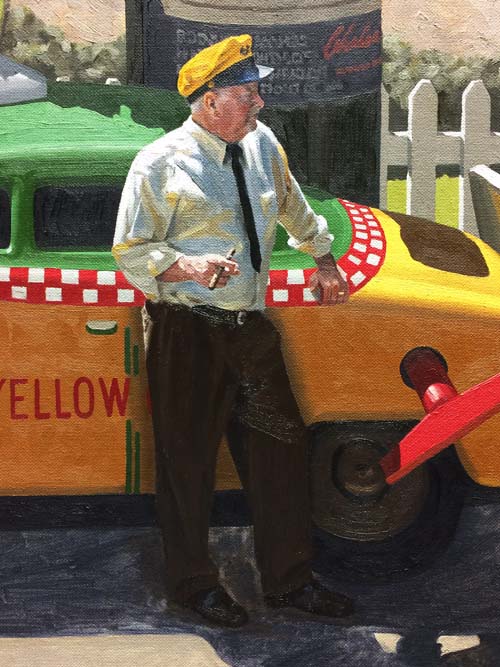
The finished whole figure. If you compare this with an earlier
photo, you will see how the darkened area on the cab right
behind his slacks shows the shadow within a shaded area that is
created by the reflected light bouncing off the street.
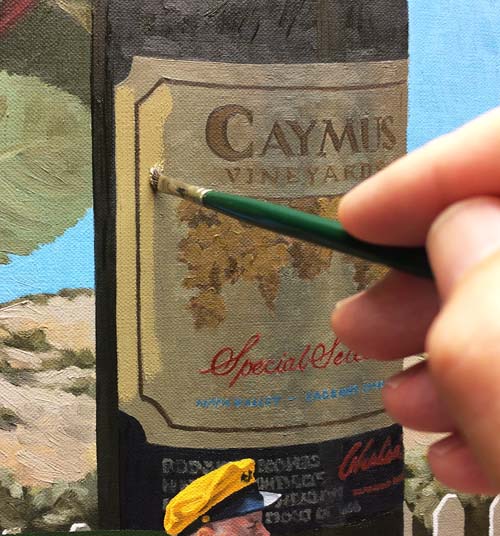
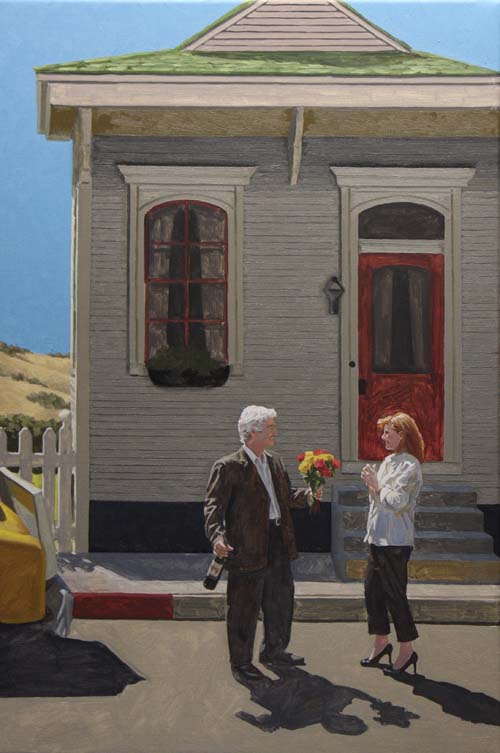
After looking at the entire canvas, it was apparent to me that
the label on the wine bottle was too dark. In my effort to
make it look like it was in the shade, I made the overall label
color and value too gray and too dark. Here you see me
applying a mixture of burnt umber, French ultramarine blue,
cadmium yellow and white.
If you look at the area of the label just to the right of
center, you can see me adding the lighter oil paint.
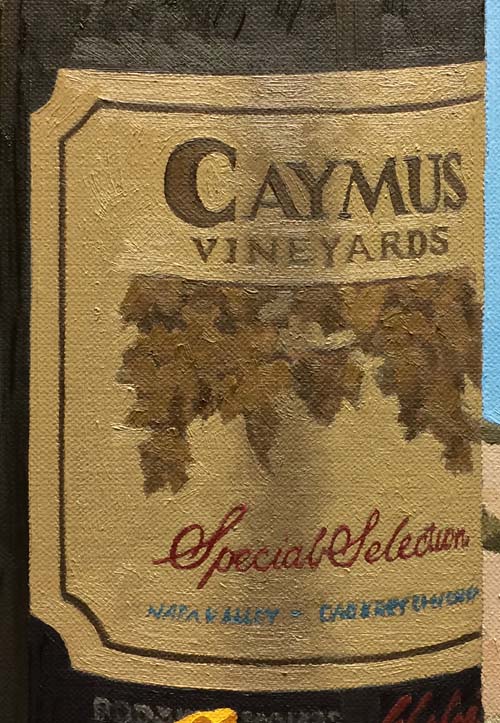
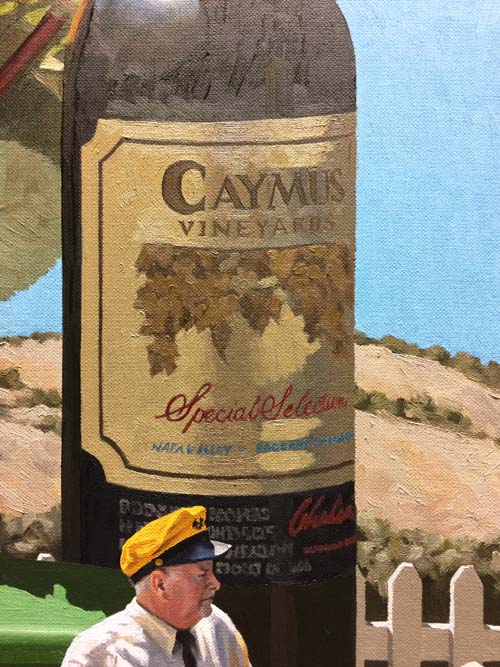
Here's a look at the finished 'brighter' label.
All that is left is the sidewalk, curb, street and the shadows.
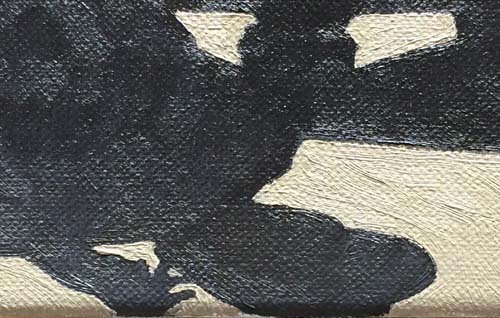
Here are a few close-ups of the street and sidewalk areas with
the cast shadows.

Everything is a relationship of values. One value makes
another look light or dark. Just the indication of the
crack in the sidewalk makes the shadow area look light, while it
is considerably darker than the light struck area of the
walkway.
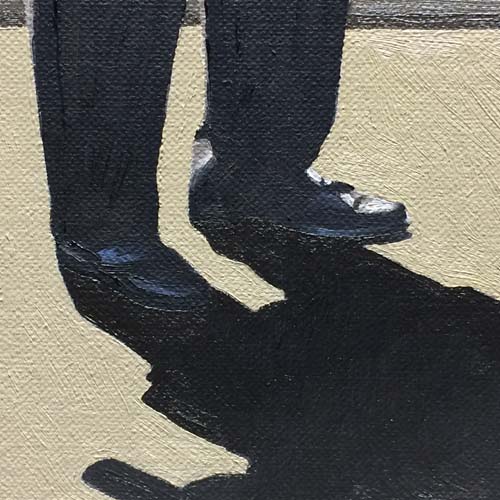
Look closely at the shoes and you can see some blue middletones
that are a reflection of the sky.
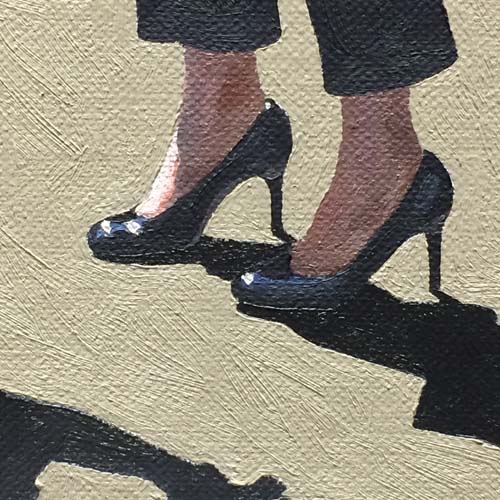
Just like the man's shoes, these high heels have blue toned hues
that show the sky's influence.
"Two Cabs" is
finished. Thanks for watching!
|